 Reading Time: < 1 minute
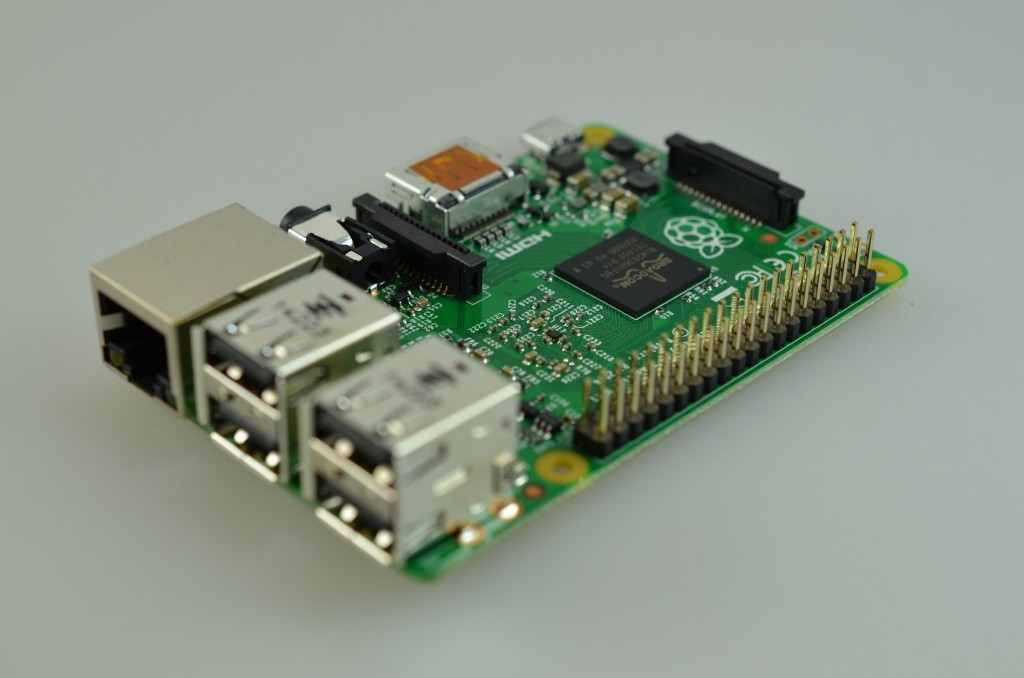
Last monday the Raspberry Pi 2 was released. I’ve got one of them on Tuesday. After the installation of the new Raspbian Image (2015-01-31) i realized that the default GPIO Python module of Raspian does not work with the Raspberry Pi 2 anymore. I tried to import the module and got a „This module can only be run on a Raspberry Pi!“ message.
There is already a ticket for this issue at Sourceforge. The sources are fixed but there is no raspbian upgrade until now. You can easily upgrade the module by compiling from source.
First install the needed packages.
$ sudo apt-get install python-dev python3-dev

$ sudo apt-get install mercurial

$ sudo apt-get install python-pip python3-pip
Remove the old packages.
$ sudo apt-get remove python-rpi.gpio python3-rpi.gpio
Install the new Versions
$ sudo pip install hg+https://hg.code.sf.net/p/raspberry-gpio-python/code#egg=RPi.GPIO

$ sudo pip-3.2 install hg+https://hg.code.sf.net/p/raspberry-gpio-python/code#egg=RPi.GPIO
After the installation is complete, you can try the module by starting python.
python
In Python test the installation by importing the module.
import RPi.GPIO
If you get no errors, the module will work.
Have fun!
For more detailed instructions visit:
https://sourceforge.net/p/raspberry-gpio-python/wiki/install/
Edit: Thanks to Ben Croston for the hint in the comments. I changed the instructions above. They match Ben’s suggested way of installation for the development version now.
 Reading Time: 7 minutes