 Reading Time: 2 minutes
After 21 month and seven prototypes i proudly present you a first version of my Open Exposer 3D resin printer which is able to print.
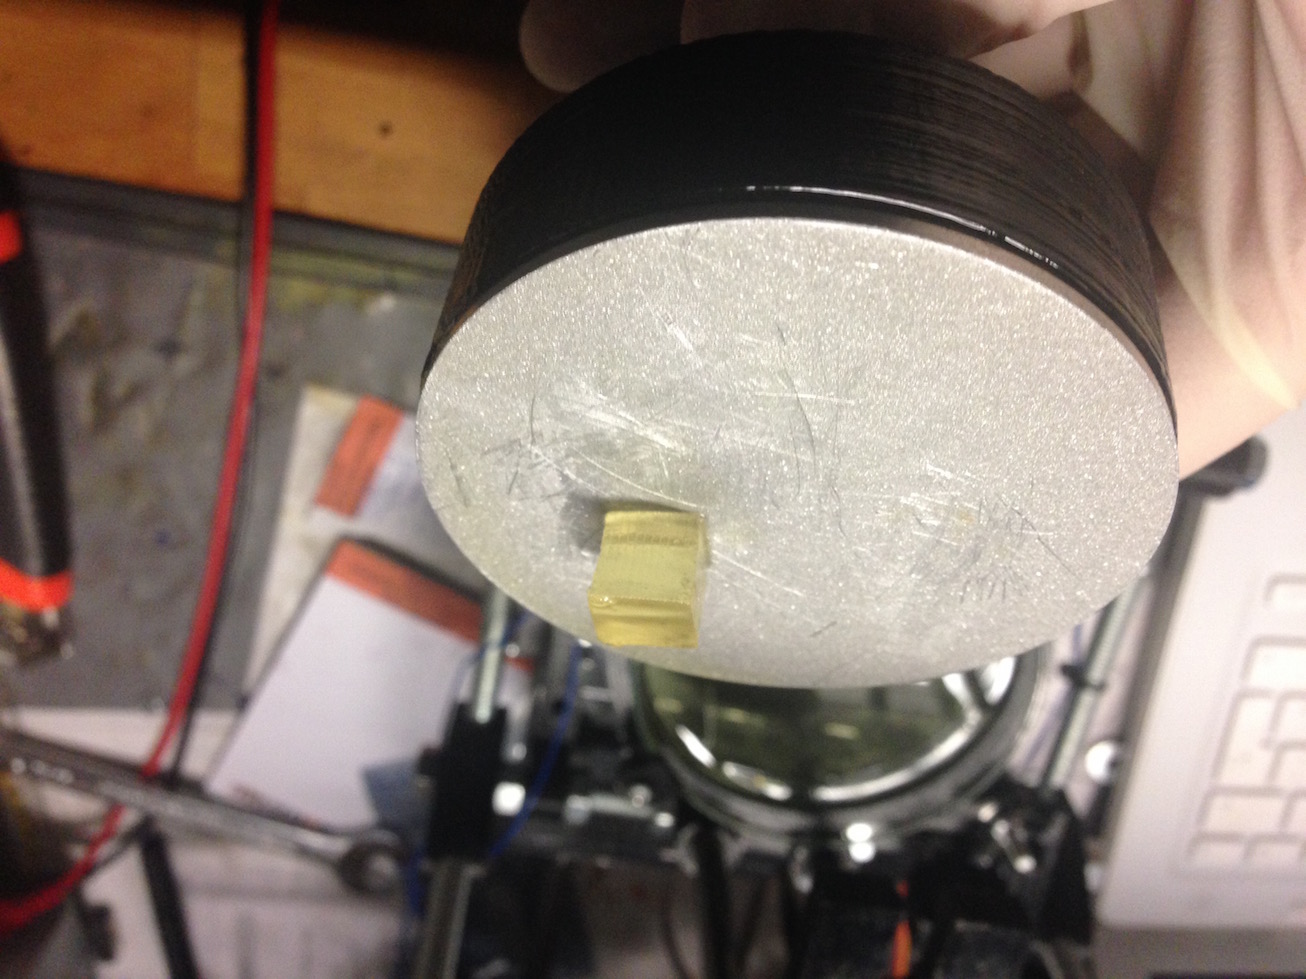
Open Exposer is a low budget open-hardware 3D resin printer i am working on. It uses a polygon mirror instead of laser galvanometers. When the laser hits the polygon mirror, a laser line is projected. By rapidly turning the laser on and off, i can produce any line pattern. By moving this changing line pattern in y-direction i am able to expose a whole layer.
First prototype
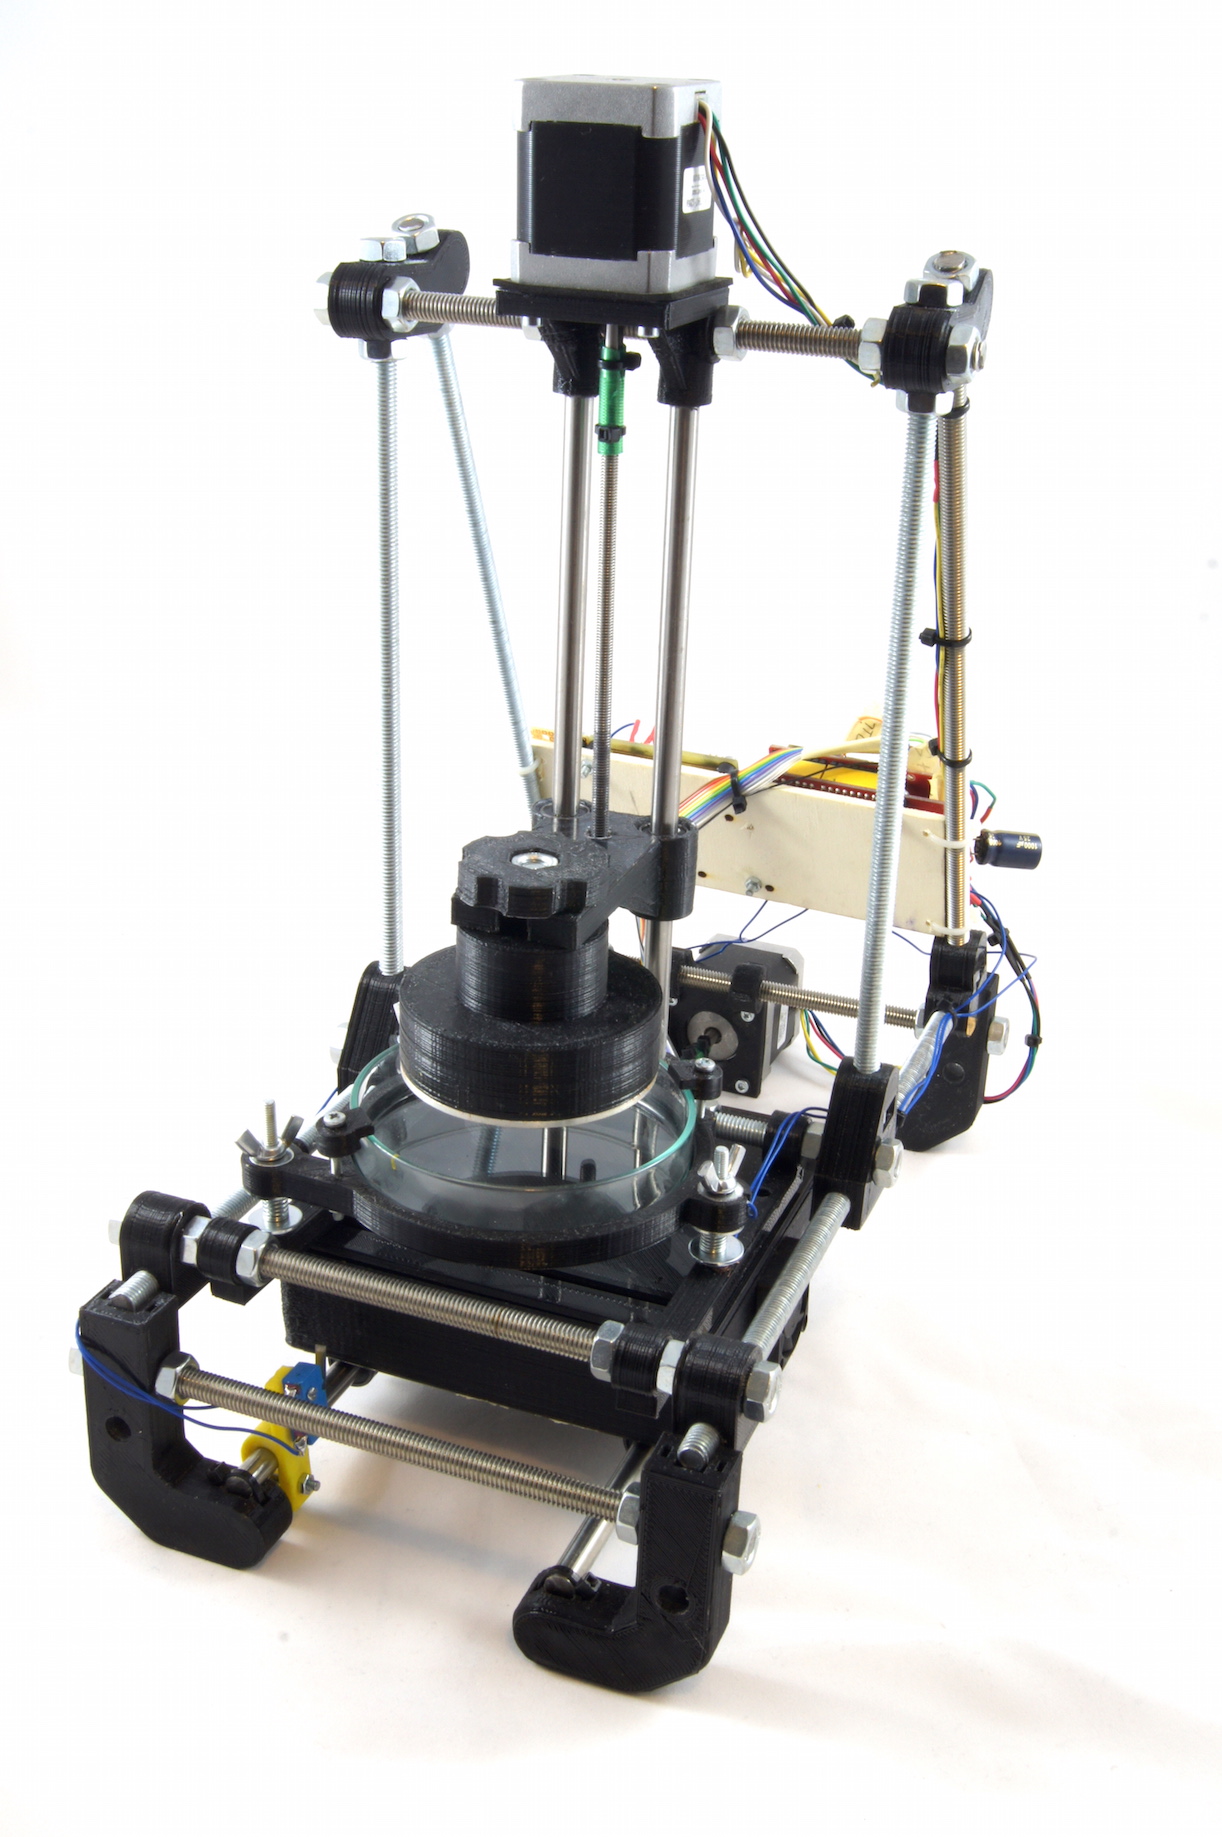
Current prototype
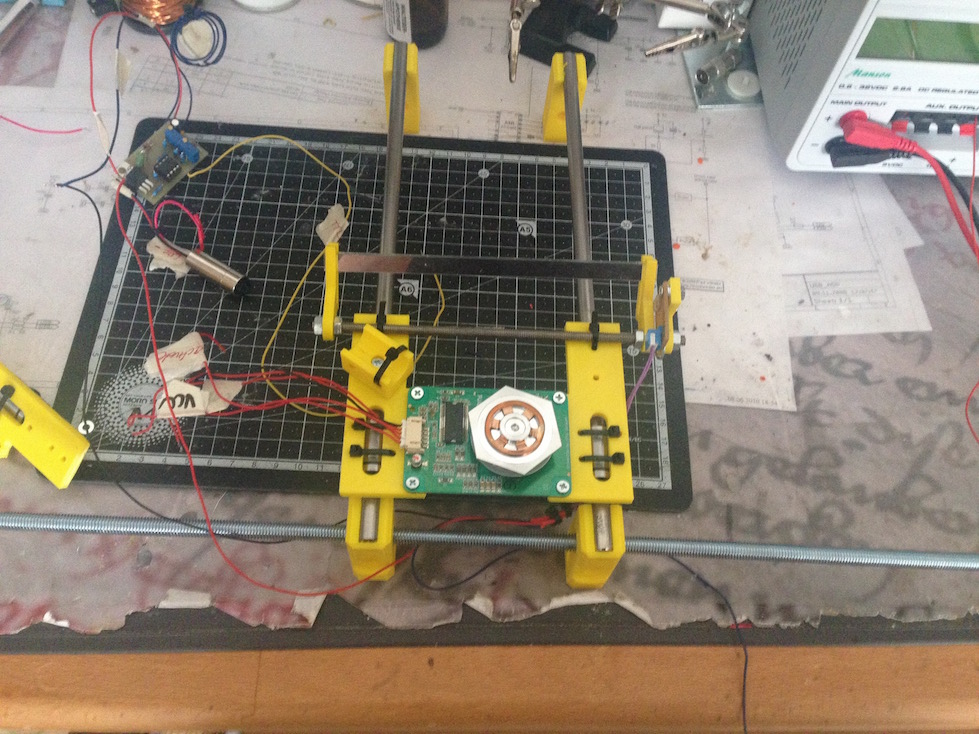
Current hardware setup
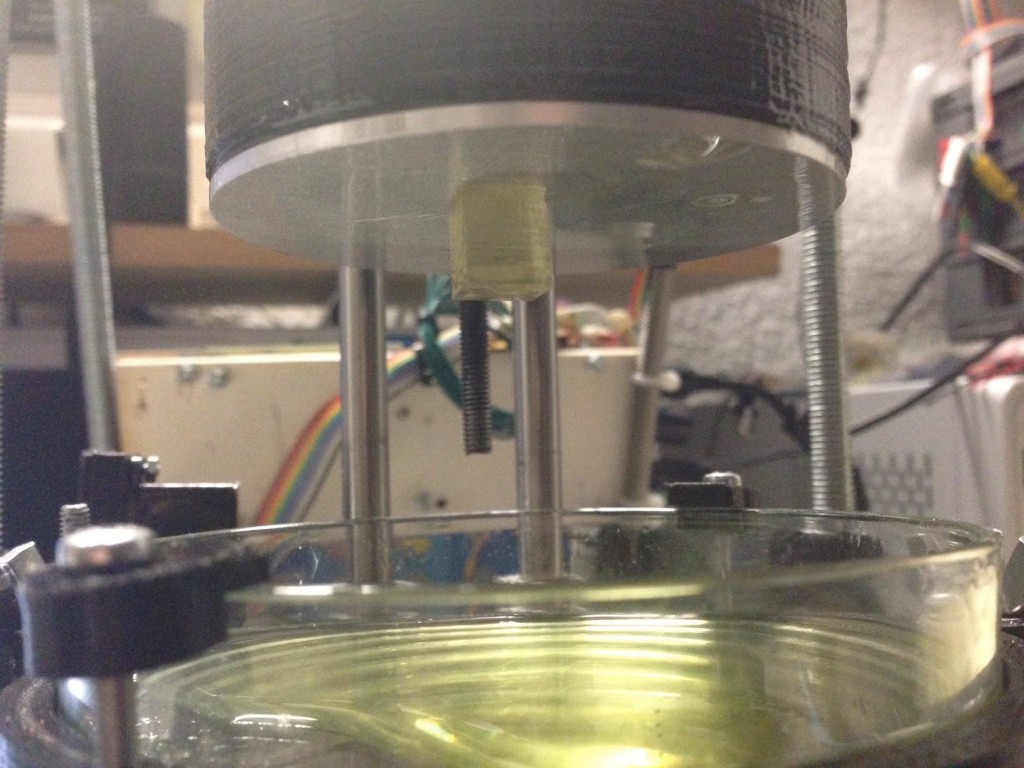
For the first prototypes i decided to keep things simple, so i used a „reprap“ design with printed parts, threaded rods and nuts. Later i will switch to a laser cut approach. For the vat i used a petri dish. Two stepper motors move the y and z axis.
The controller is a rough prototype until now. It consists of an Arduino with a fabscan shield on it for driving the motors. A small laser driving TTL circuit is used to control the laser diode. The last part is a Atiny2323 which generated a 33,333 MHZ signal to drive the polygon mirror.
Laser exposing like described above.
Software
For slicing the STL files to SVG i use the SVG slicing option of Slic3r. After the slicing process, a python written post processor is called, which converts the SVG to Open Exposer G-Code. Then a host software sends the G-Code to the Open Exposer. There is a lot of work to do!
The video shows the layer changing procedure.
Results until now
The printing results are looking good. A lot of work is to do. And i am sure there can be a lot of optimization to get even better results.
First successful print result
All needed files to build an Open Exposer can be found at: https://github.com/mariolukas/openexposer/
I will keep you up to date.
Woaaa, this thing looks REALLY impressive!
Respect for making this kinde of stuff!
Hello !
very nice project !
About polygon mirror, how do you determine first start point during scan ?
I can’t see on the picture a photodetector or something else to detect the first laser point at the begining of a line. How do you process ?
Thanks !
Thank you, there is a photodiode in the exposing box to determine the end of a line. I recommend to use
an opt101 ic from Texas instruments. It has the amplifier integrated and it is fast.
https://www.ti.com/lit/ds/symlink/opt101.pdf
Ok, thank you !
Hey Mario!
How is it going? Any updates on your OpenExposer? Have you successfully printed anything else except this cube? Do you have some new videos? I want to build one too and I dived into the scad files and created all the stl parts. Know I am considering buying this polygon mirror and the optic diode but wonder how your machine perfoms now. I follow this project for quite some time.
Hey, sorry for the late response. I am working on a new Slicer. And i replaced the petri dishes by a flex vat. You can find a short youtube video of it. I will do a new print test this week. There are a few people who support this work now. I think there will happen a lot of things this year.
Hello,mario. How is your openexposer project going on? I’ve download your project firmware from github, while I’ve trouble in reading it, does it contains all the files that we need?
Good luck, thanks.
You are right. There were some files missing. We also added a new slicer code.
Hi.
I make a laser 3d printer like as your concept.
Your documents and files help me to make it.
could you open the circuit of motor drive shield?
There are difficult to understand on your arduino code, for example laser pins like below.
#define LASER_PIN 9
#define LASER_ENABLE_PIN 10
#define LASER_PORT B
#define LASER_BIT 1
#define LASER_PWM_PORT D
#define LASER_PWM_BIT 6
#define LASER_PWM_PIN 6
your circuit will help me to understand the function of each pin.
Below is my frame.
https://plus.google.com/u/0/+AustinRyu/posts/MXRs7EkV689
Thanks.