 Reading Time: 3 minutes
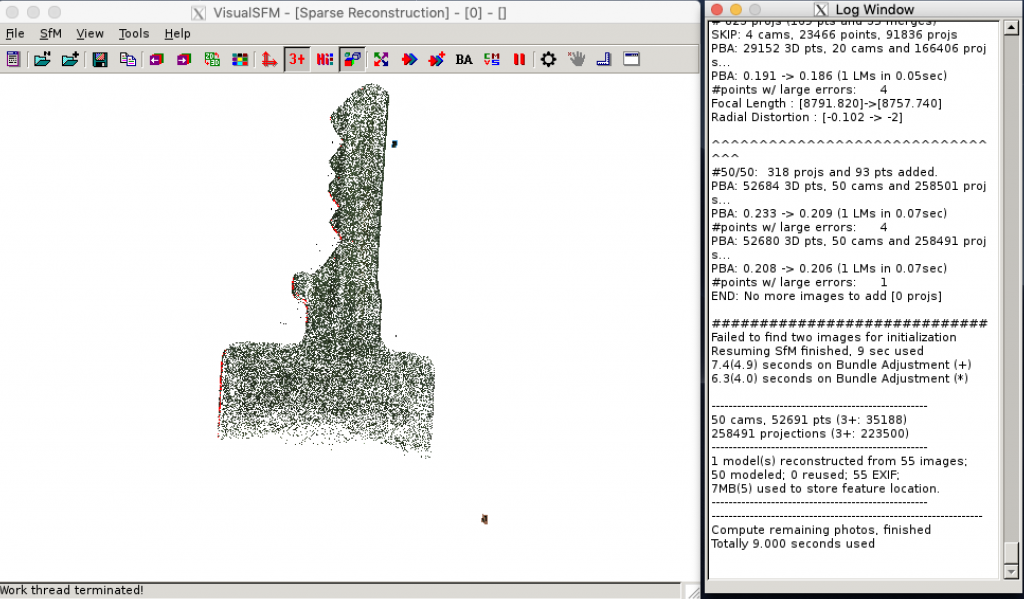
It is hard to get VisualSFM running on a current MacOS. But this short article shows how to use VisualSFM on MacOS by running a Docker container. I am running it on a MacBook Pro 2018, without Nvidia chipset. That is the reason why the following instructions show how to use VisualSFM with CPU (SIFT) support. Don’t worry it will run with an acceptable speed for photogrammetry.
Installing Docker
First you need to install Docker on your system. Go to the following address, download and install docker. It is free but it might be that you need to register before you are able to download.
https://store.docker.com/editions/community/docker-ce-desktop-mac
After docker is installed and started, the small whale icon in the top left corner will indicate that, you can install the needed VisualSFM image and container. There is a ready to use image available, but we need to do a few changes to it. Create a file called Dockerfile in an empty folder with the following content:
From ryanfb/visualsfm
RUN apt-get update
RUN apt-get install -y libglu1-mesa
This will create a custom image based on the ryanfb/visalsfm image but with additional packages installed. Afterwards you can build the container with the command
docker build -t visualsfm .Call the command within your created folder where the Dockerfile is located. The build process will take a while.
Installing XQuartz
During the build you can install XQuartz. This is needed to use the UI of VisualSFM. Take the latest version from
After it is installed launch a Terminal and call
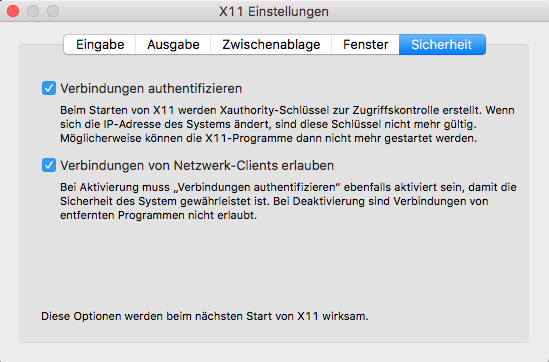
open -a XQuartzto enter the XQuartz preferences. You need to change the permissions of XQuartz. Go to the Security tab and check the boxes like the image below shows.

Since XQuartz does not support indirect GLX no longer by default. You need to open a terminal and activate indirect GLX support by executing:
defaults write org.macosforge.xquartz.X11 enable_iglx -bool trueThe close all opened terminals and try to run the docker container, when the build process is done.
Running the Installation
Open a new terminal. First we need to allow X-Forwarding. This can be done by typing in the terminal.
xhost +Docker is now allowed to use the XQuartz on the host system to forward UI output to it. Afterwards you can start the VisualSFM docker image with
docker run -it --privileged -e DISPLAY=docker.for.mac.localhost:0 -v /tmp/.X11-unix:/tmp/.X11-unix ryanfb/visualsfm /root/vsfm/bin/VisualSFM

When it woks you can close the window and rerun it with some image folders mounted to the docker container.
docker run -it --privileged -e DISPLAY=docker.for.mac.localhost:0 -v pathtoyourimages:/mnt -v /tmp/.X11-unix:/tmp/.X11-unix ryanfb/visualsfm /root/vsfm/bin/VisualSFM
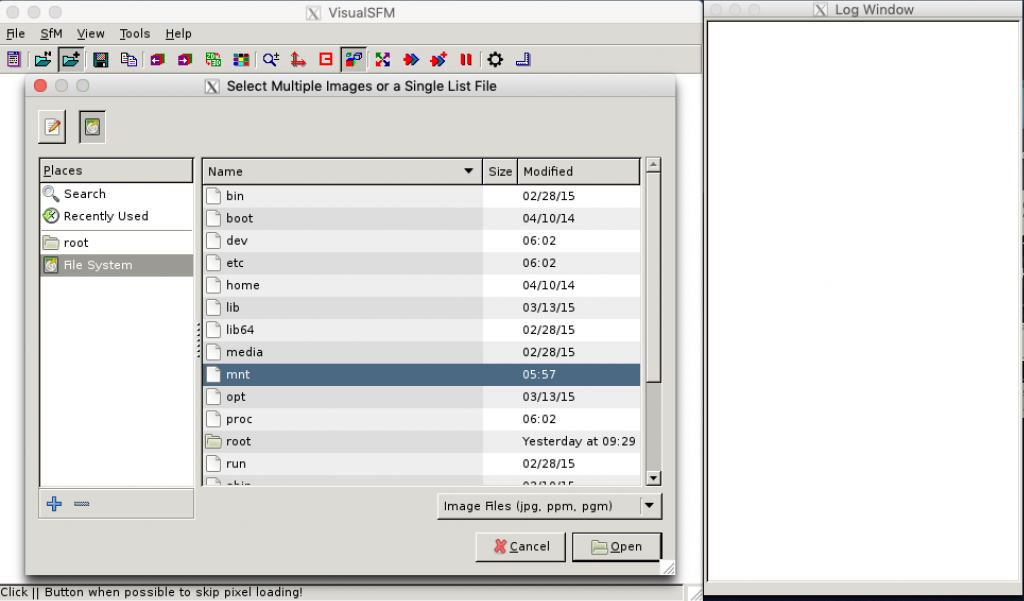
You will find your images to process in the /mnt folder. You can also mount the images to /media.

I hope this will help you a little bit to get started on MacOS with VisualSFM. Maybe I missed some details. If you will have problems feel free to leave a comment.
great writeup dude.
do you have this written on github as gist or a document within a repo?
there are several things that could be updated or improved upon in this writeup to get visualsfm going on macOS.
either way thanks for sharing.
Hi There…
Thank you for your tutorial!
Btw, i still have problem with the VisualSFM processes my images. VisualSFM always stop at Computes Missing Matches step and says ERROR6.
Does it relate to GPU? My machine is MacBook Pro 2018 13″. Each start the VisualSFM docker, it always says, „libGL error: failed to load driver: swrast
Indirect OpenGL Context; SiftGPU must enable CUDA.“
Do you have Brew installed inside your MBP? Because i dont have it.
Any ideas or suggestion?
Thanks in advance,
andru
I had a similar issue. It is related to the Docker Engine resources. Mostly too little memory.
In my case one of two possible solutions solved the problem.
1.) Try to increase the memory of the docker engine. Docker -> Preferences -> Advanced.
Or
2.) Reduce the size of the images.
You can ignore the GPU Error because VisualFSM in the docker image is configured for
CPU usage only.
Hi Mario,
Thanks for this valuable explanation.
Is there anyway you could post a video tutorial on all of these? I’m new at this (definitely not any type of developer…) and so a visual explanation would be great.
Thanks again!