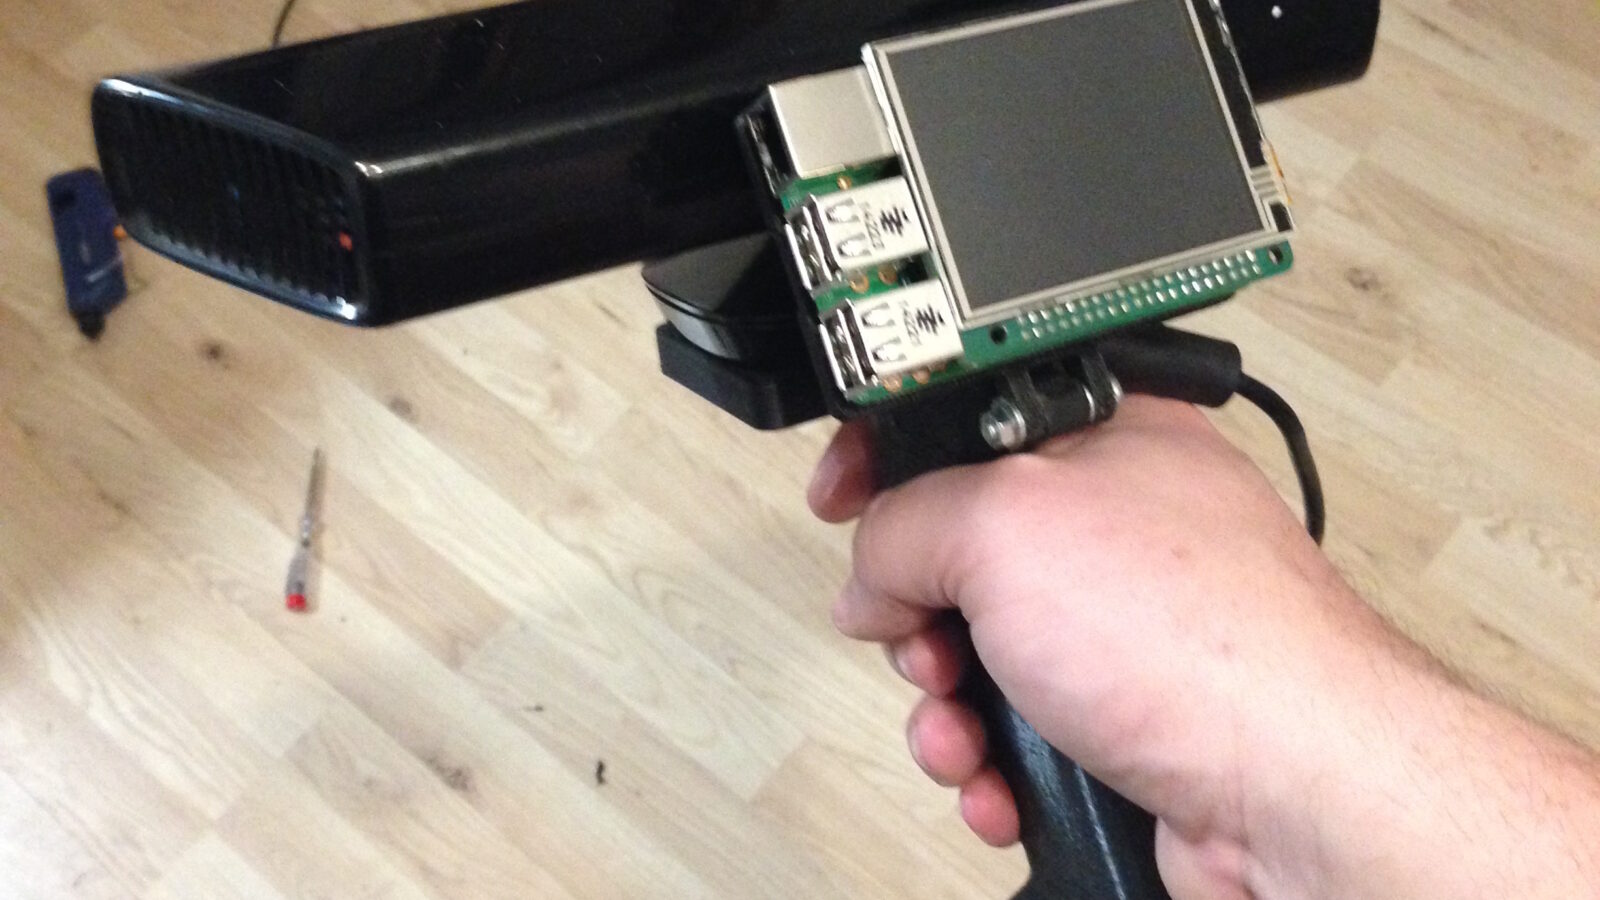
I am working on a proof of concept standalone mobile 3D Scanner. Hopefully it will be possible to use a Raspberry Pi2 for this project. I have already posted a video on youtube. And some people asked for short instructions on how to run the Kinect on the Raspberry Pi2. And here it comes….
First i printed and modified a Kinect handle i found at Thingiverse. I remixed this handle and added a Raspberry Pi2 and a display mount to it. You can find the files at: https://www.thingiverse.com/thing:698577
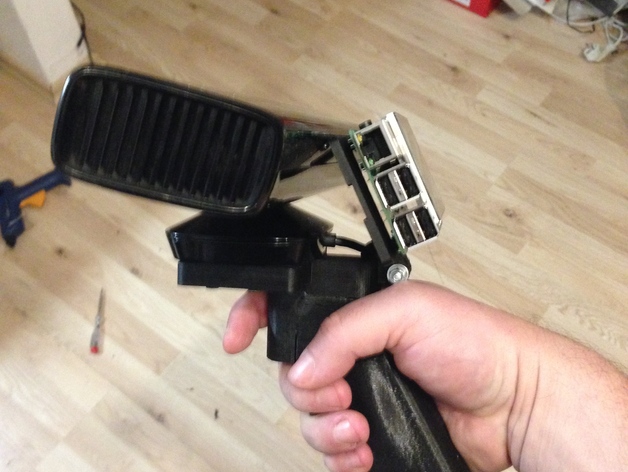
You can get the Raspberry Pi display from watterott.com, instructions for installing the display can be found on GitHub. I recommend to use the current Raspberry Pi Image which you can also find on GitHub.
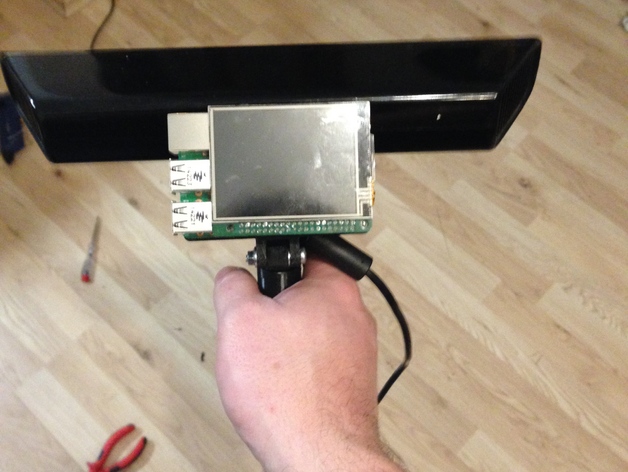
Start with the clean display Image. I used the libfreenect for some experiments. It seems that libfreenect provides all the functionality which is provided by the Kinect. Lets start!
First of all we need to install all required libs. We start with an update of the packaged list.
sudo apt-get update
Next we need to install some libs and tools wich are needed to build libfreenect.
Python and OpenCV related Stuff:
sudo apt-get install build-essential python-dev ipython python-opencv
sudo apt-get install python-numpy python-scipy
Build Tools and dependencies of libfreenect
sudo apt-get install git-core git
sudo apt-get install freeglut3 freeglut3-dev libxmu-dev libxi-dev
sudo apt-get install cmake cmake-curses-gui pkg-config
Libfreenect depends on libusb for the communication part: We have to build libusb, because the prebuild version won’t work with current versions of libfreenect.
sudo apt-get install libudev-dev
First we need to get libfreenect source, untar and compile it.
sudo wget https://sourceforge.net/projects/libusb/files/libusb-1.0/libusb-1.0.19/libusb-1.0.19.tar.bz2/download
tar xvjf download
cd libusb-1.0.19
./configure
make
sudo make install
And finally install the lib. When the install process is finished, we can install libfreenect.
cd ..
git clone https://github.com/OpenKinect/libfreenect.git
cd libfreenect
mkdir build
cd build
ccmake ..
Here we have to configure some things. First press ‘c’ key. Then use the arrow keys to change BUILD EXAMPLES to OFF and make sure that LIBUSB_1_INCLUDE_DIR directory points to /usr/local/include/libusb-1.0. At the end press the ‘c’ key a second time followed by pressing ‘g’. If the console is promoted again, start the compile process with :
cmake ..
make
sudo make install
Congratulations, if no errors appear, you are done. You can test the driver and lib by changing into the ‘wrappers’ driectory. By typing
cd ../wrappers/python
There you have to install the python libs of libfreenect.
sudo python setup.py install
After that you are ready to go. Give it a try by starting some of the example Applications. For example the async demo.
sudo python demo_cv_async.py
These program examples are not capable to handle multiprocessing, it works and if you use a single stream example you are able to get a fine depth image stream. I am working and experimenting with some multiprocessing code i’ve already written.
Since i am very interested in 3D Scanners i will do further work on it this summer. First i have to finish my other 3D Laser Scanner project https://hci.rwth-aachen.de/fabscanpi
Feel free to comment! And have fun.
Comments