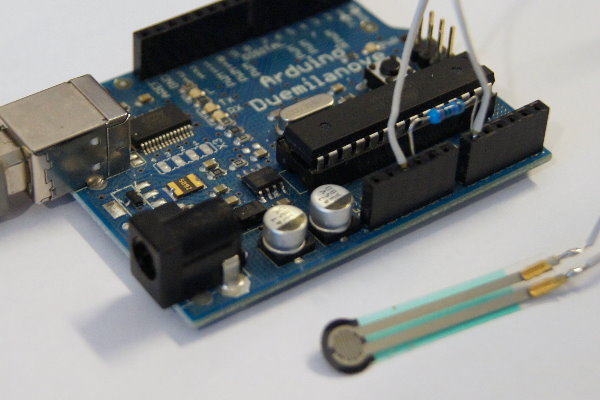
Since I’m currently still tinkering with my project for the “Mach flott den Schrott” contest, and a pressure sensor is going to be part of it, here’s a quick little tutorial on using the SEN-09673 pressure sensor with the Arduino.
Which sensor?
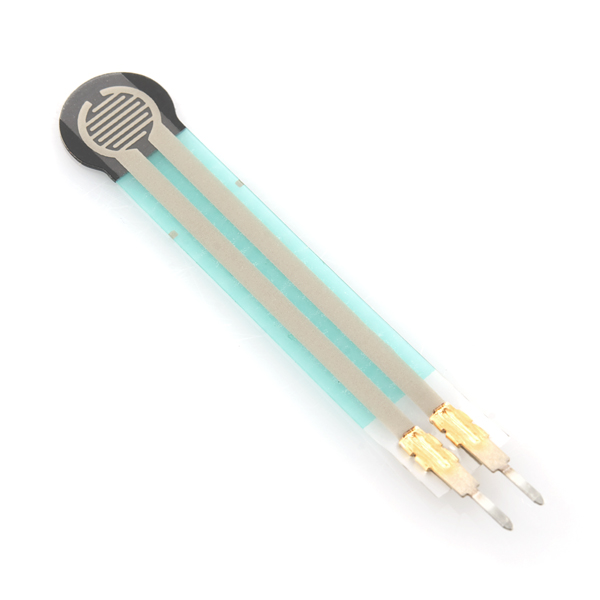
For this tutorial I’m using the SEN-09673 pressure sensor (datasheet), which you can see in the picture (below). The sensor is very small, which makes it a perfect fit for my project. One drawback, though, is that at around 4 – 6 euros it isn’t exactly cheap. You can get the sensor, for example, from Watterott electronic GmbH or a little cheaper from Sparkfun Electronics.
Sensor theory
The sensor measures a change in electrical resistance. When no pressure is applied to the sensor, the resistance is greater than 1 MΩ. At the maximum measurable pressure, the resistance is around 2.5 kΩ.
The setup
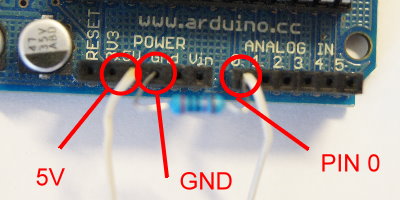
One pin of the sensor is connected to 5V. The second pin of the sensor is connected to analog pin 0. In addition, a resistor is connected to analog pin 0. The other end of the resistor goes to GND. The picture below shows the exact wiring in detail.
The programming
All that’s missing now is a few lines of code. Listing 1 shows some example code that prints the values measured by the pressure sensor to the serial port.
Listing 1:
/*Variablen initialisieren*/

int analogPin = 0;

int val = 0;


void setup(){

/*Seriellen Port initialisieren*/

  Serial.begin(9600);

}


void loop(){

/* Wert einlesen */

   val = analogRead(analogPin);

/* gelesenen Wert auf dem Seriallen Port ausgeben*/

   Serial.println(val);

/*Kurze Zeit Warten */

   delay(500);

}
And that’s it. The values produced by the sensor are read in via analog pin 0 and stored in the variable val, which is then printed to the serial port.
Comments