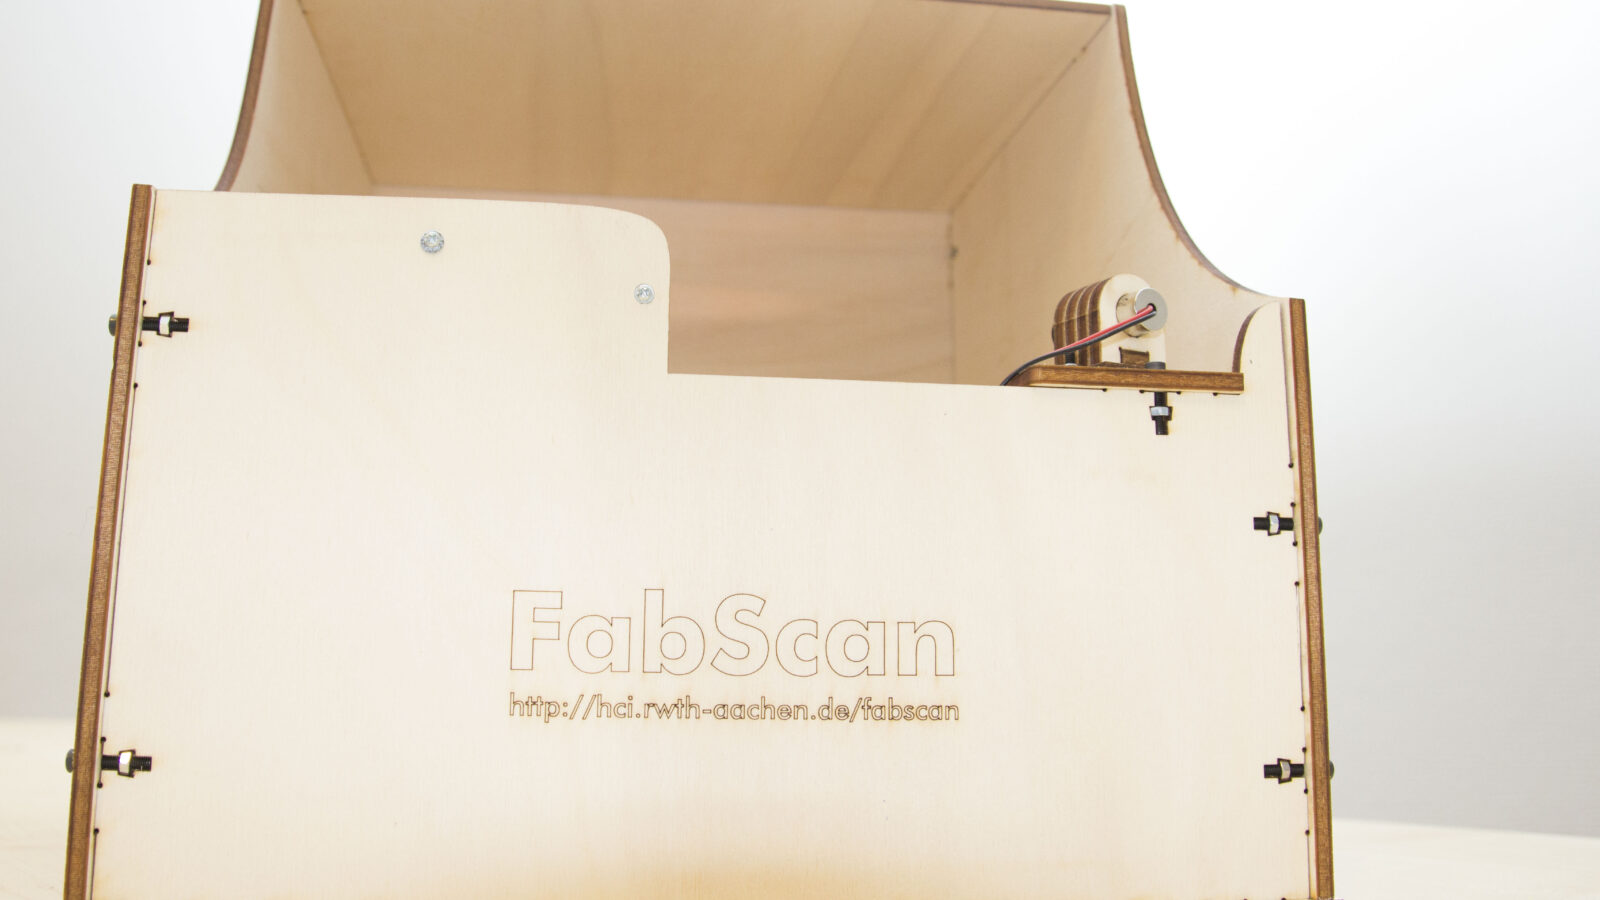
Since more and more people have been asking for a “user manual” for the FabScan lately, I’m now writing a short how-to here. It describes two fundamentally different ways of using the FabScan.
The Live DVD Way
Operating system: Ubuntu Linux
Special feature: No software installation needed. Colored point clouds are supported.
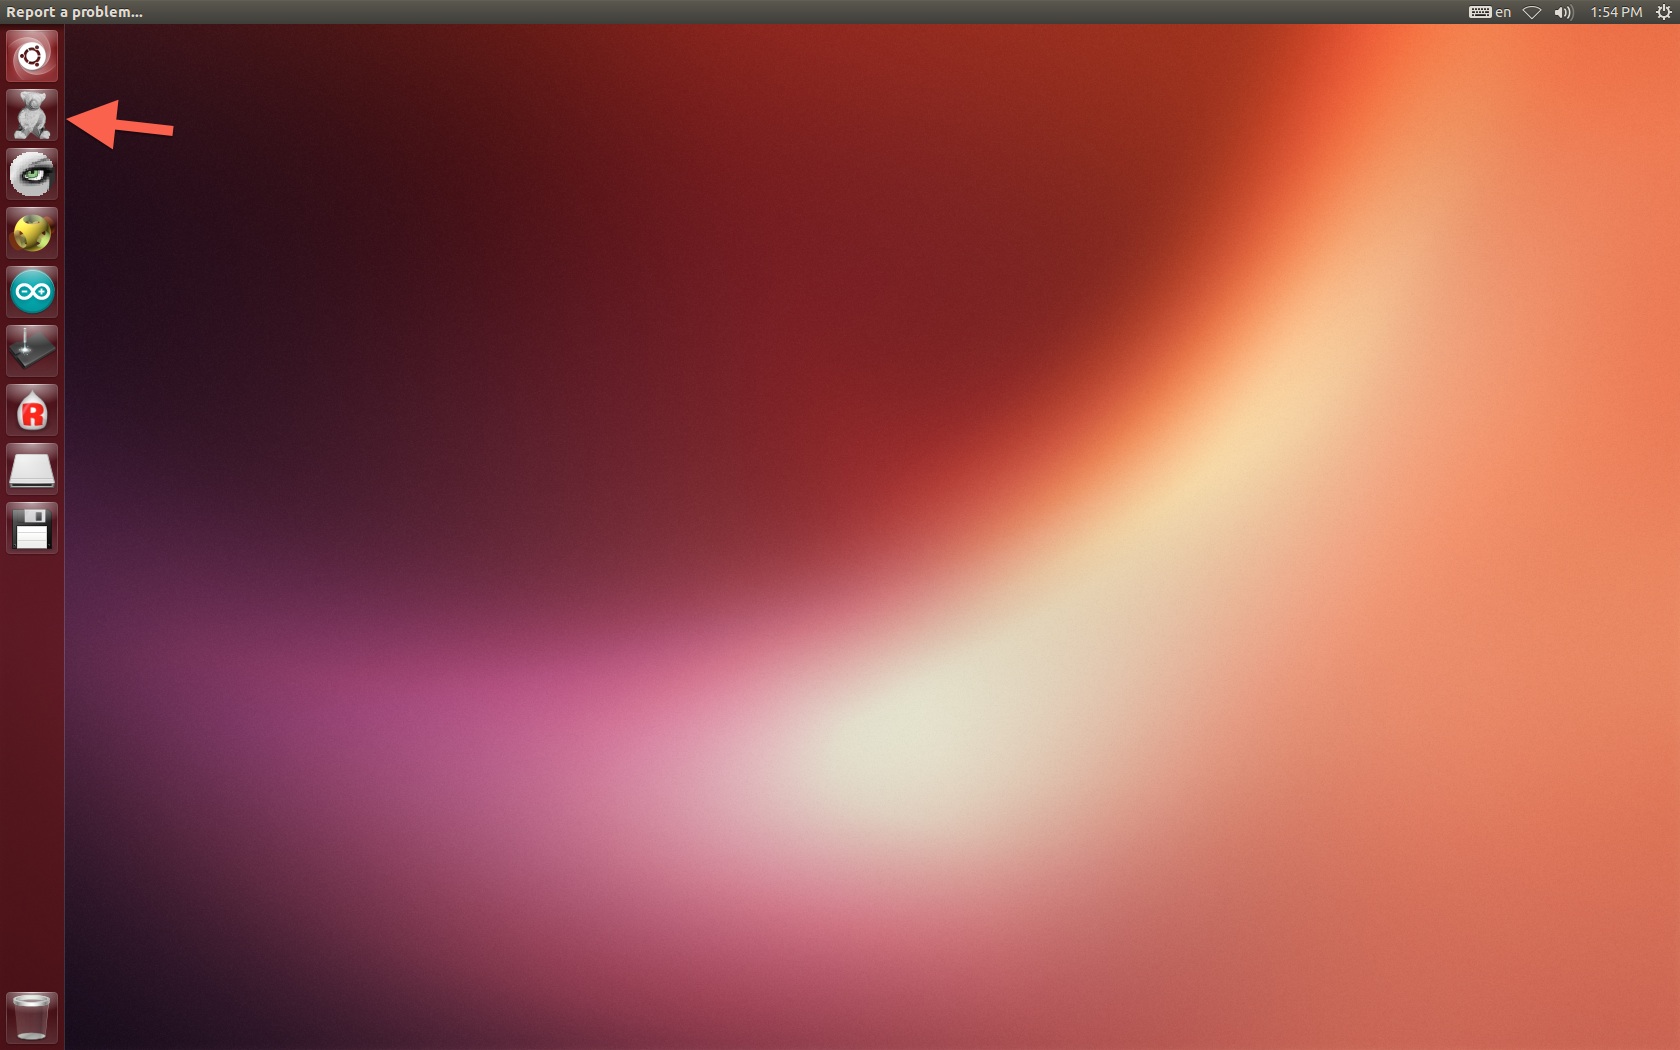
Step 1: First, the current DVD image has to be downloaded and burned to a DVD. Then insert the disc and restart the computer. After a short wait a dialog appears in which you can choose the language and whether you want to try or install the system. For now, choose the option “Try Ubuntu”. The system is then booted from the DVD and the desktop appears. All of the FabScan’s USB connections (camera, Arduino) should be plugged into the computer. From the desktop you can launch the FabScan software by clicking on the icon with the bear.
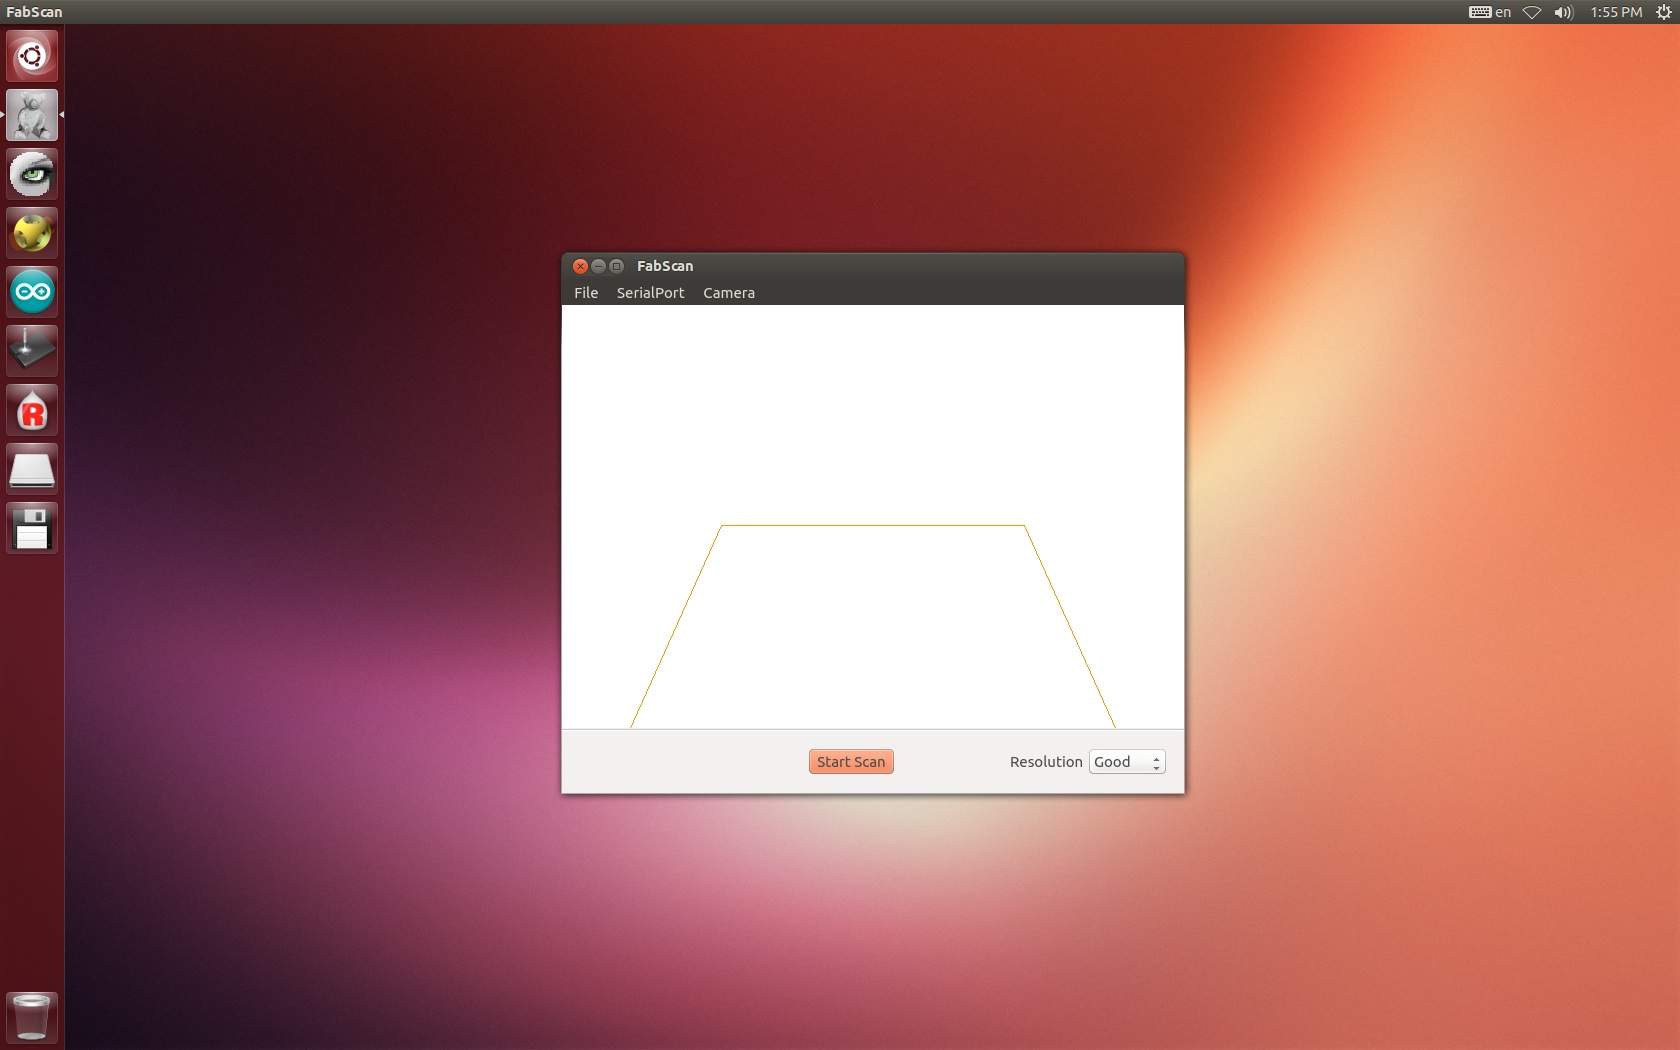
Step 2: After a short wait the FabScan software opens. The whole thing should look like this.
Step 3: Now the laser is aligned. To do this, rotate the FabScan’s turntable and laser so that the laser crosses two of the four screws diagonally.
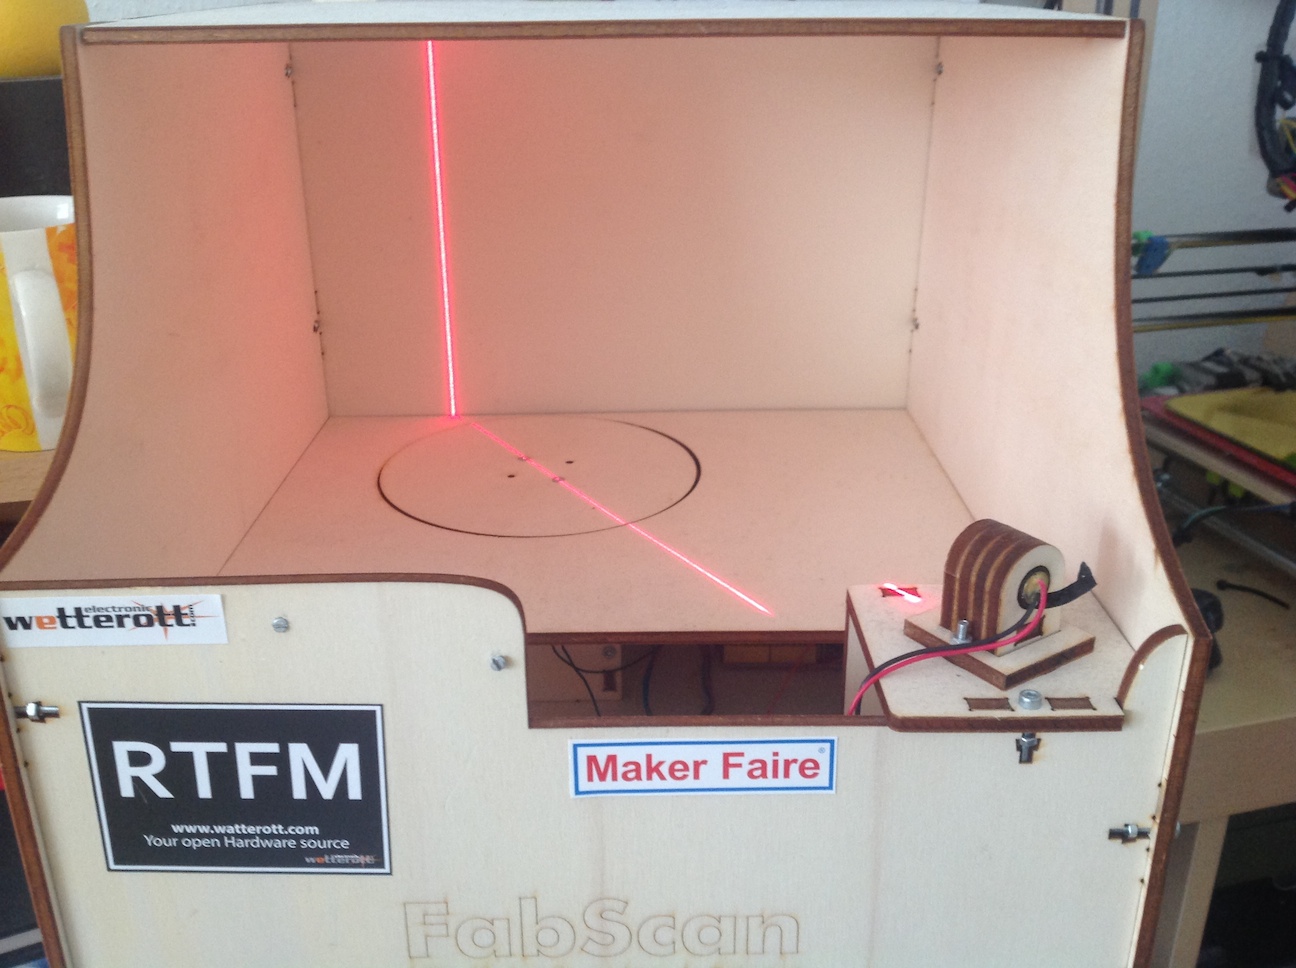
Once everything is set up as shown in the picture, click on the “Camera” menu in the software. There should be an entry such as “UVC Camera (046d:0825)”. If not, the camera was not detected or the USB plug is not plugged in. If the plug was not plugged in, the software has to be restarted after plugging it in. After selecting the camera it takes a brief moment (the software freezes for a short time).
Then you can select the serial port for the Arduino via the “SerialPort” menu. There should be an entry like “ttyUSB0” or similar in that menu. Otherwise the same applies as for the camera: check the cable and restart the software if necessary.
Step 4: Now select the entry “Control Panel…” from the “File” menu. The control panel opens.
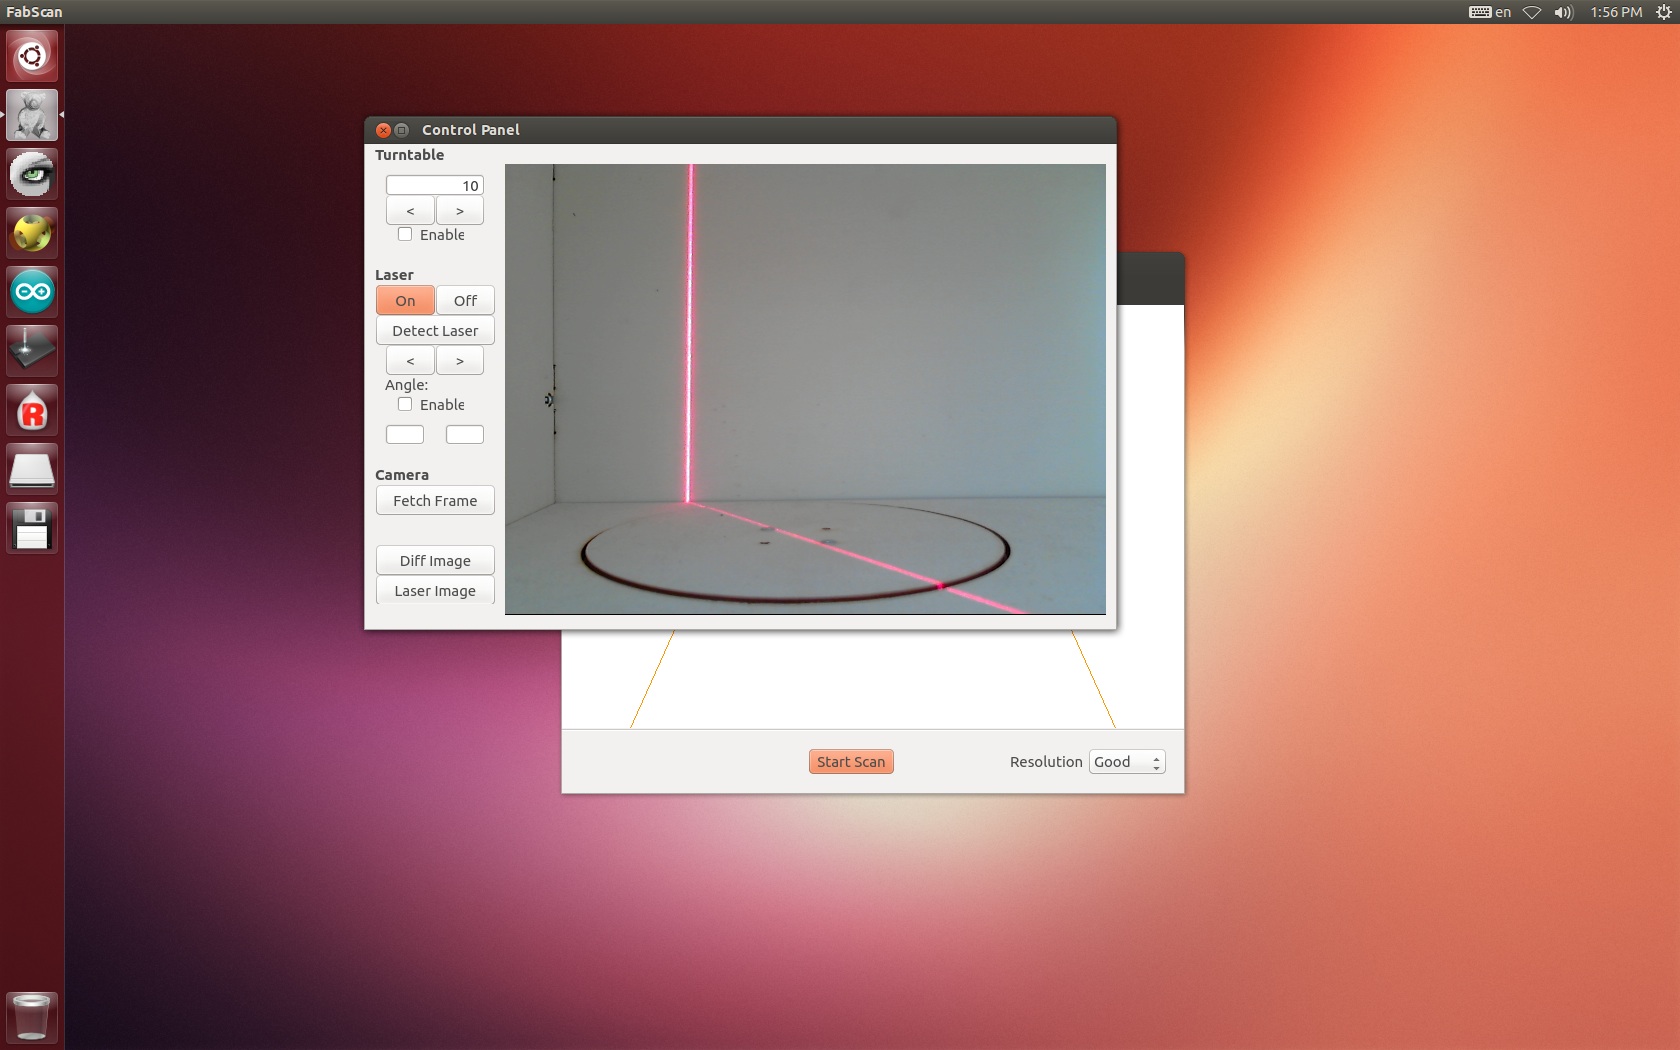
The rest of the calibration is done using this menu. For now we are only interested in the options “Detect Laser” and “Fetch Frame”.
Now make sure that there are no objects on the turntable. Then a click on “Detect Laser” opens a window that should look roughly like the following picture.
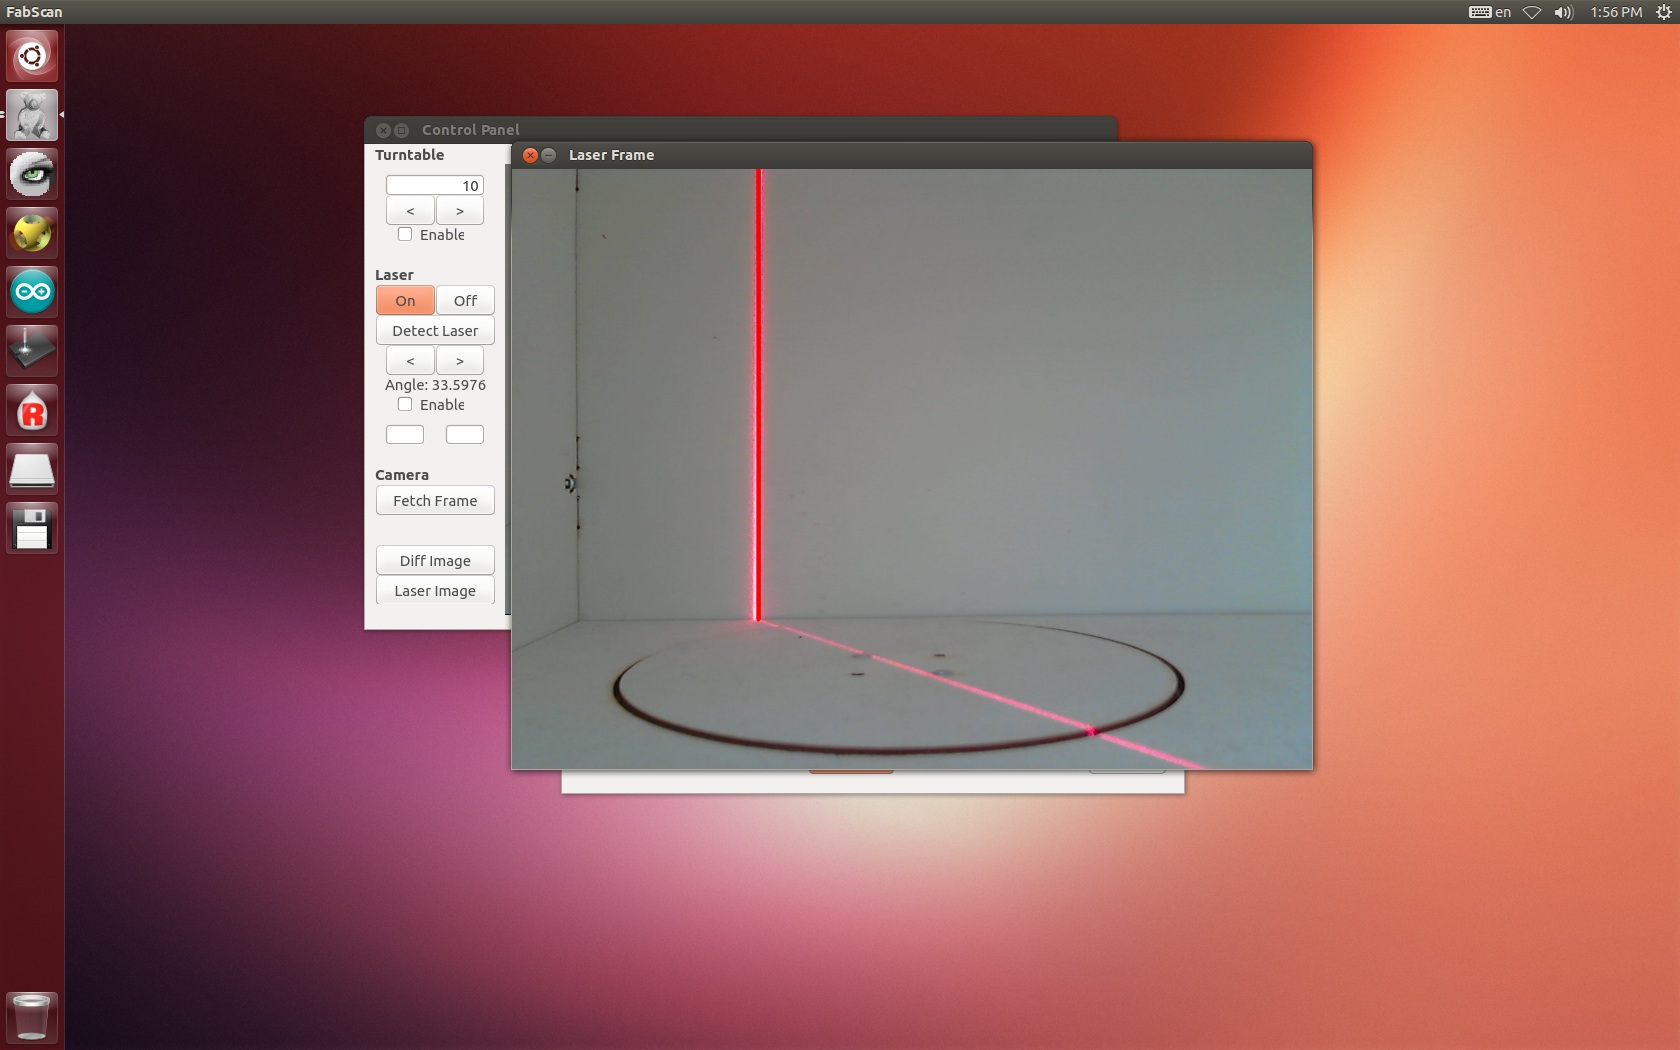
As in the picture, a red line should lie on top of the laser line on the back wall of the FabScan. If the line doesn’t match, the laser has to be rotated and the dialog opened again until it fits. The “Control Panel” dialog, still open in the background, shows the detected angle (Angle). In my tests the value there is usually 33-point-something. After that the laser detection window can be closed.
In the “Control Panel” dialog, which is still open, you then click on “Fetch Frame”. A dialog opens that helps with calibrating the camera.
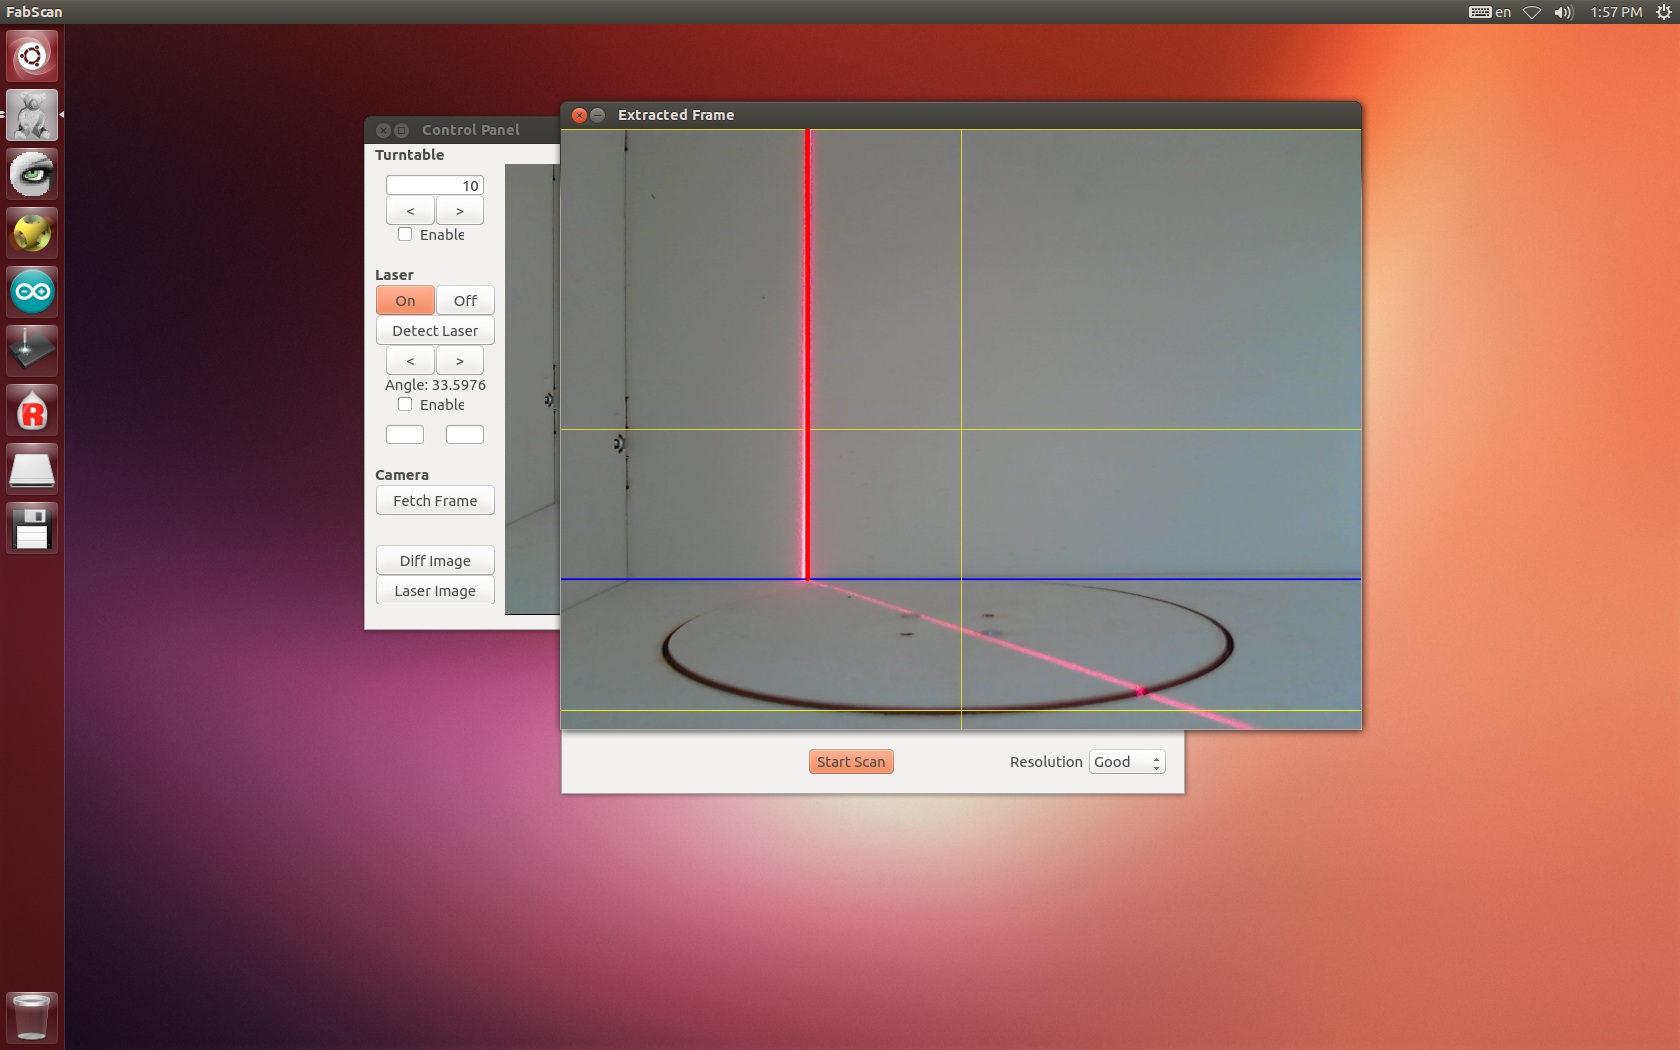
The image should look as follows. The blue line should cross the rear edge of the turntable (at the same time the blue line lies on the joint where the back wall meets the turntable surround). The lower yellow line should cross the front edge of the turntable. The camera has to be moved until, after clicking “Fetch Frame” repeatedly, the setting shown above is reached. It can help to hold the camera in position with a small piece of cardboard or something similar. A spring-loaded camera mount is also possible.
Step 5: Now the “Control Panel” dialog can be closed. An object can be placed on the turntable, and you can click Start in the main window of the software. The scan starts.
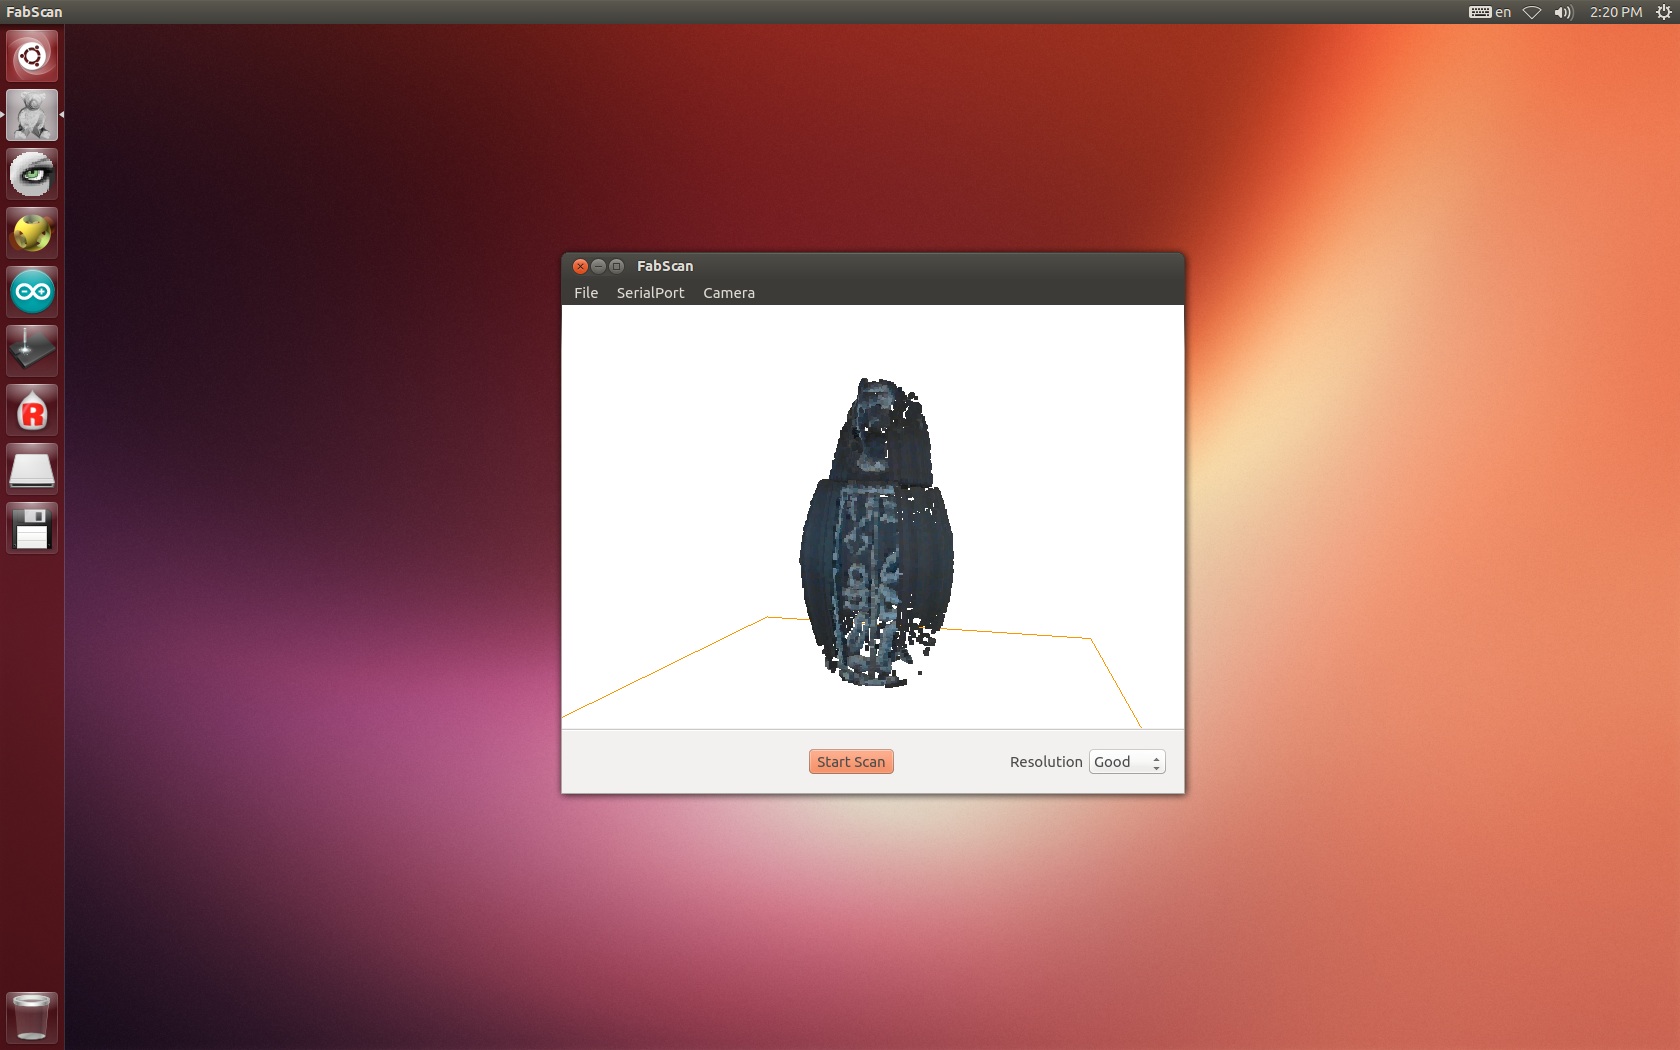
When the scan is finished, you can save the result as a point cloud via the “File” menu. To do so, click on “Save PointCloud…”. The file can then be saved to a plugged-in USB stick, for example. To generate a mesh from the point cloud it’s best to use MeshLab (the icon in the launcher below the FabScan bear). Exporting as STL does work by now, but it takes quite a long time and the result still leaves something to be desired.
The Processing Way
Operating system: Windows, OSX, Linux
Special feature: Easy to extend and modify. Only Java knowledge required. No color support so far.
Step 1: First, download a current version of Processing for your operating system and install it. Next you need to get the current FabScan software for Processing. You can find it on GitHub. Then start Processing and open the sketch “FabScanForProcessing.pde“.
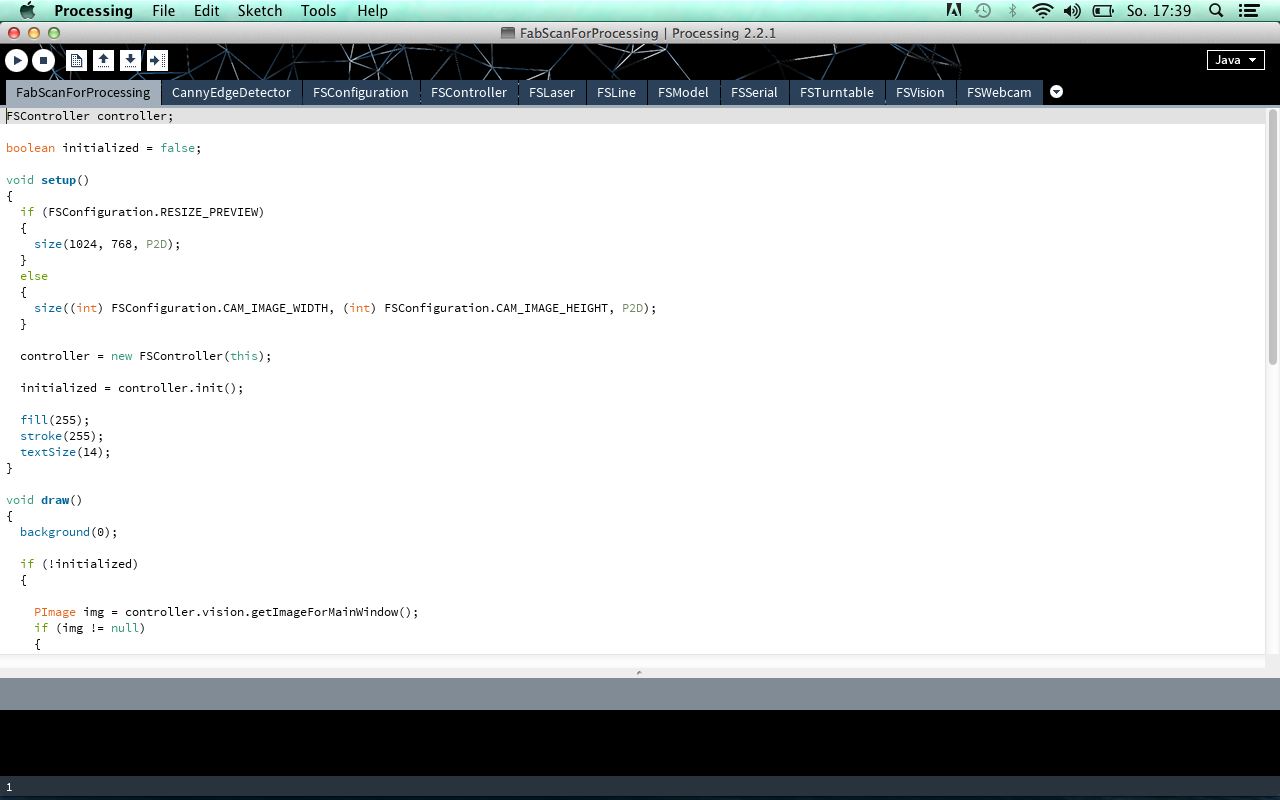
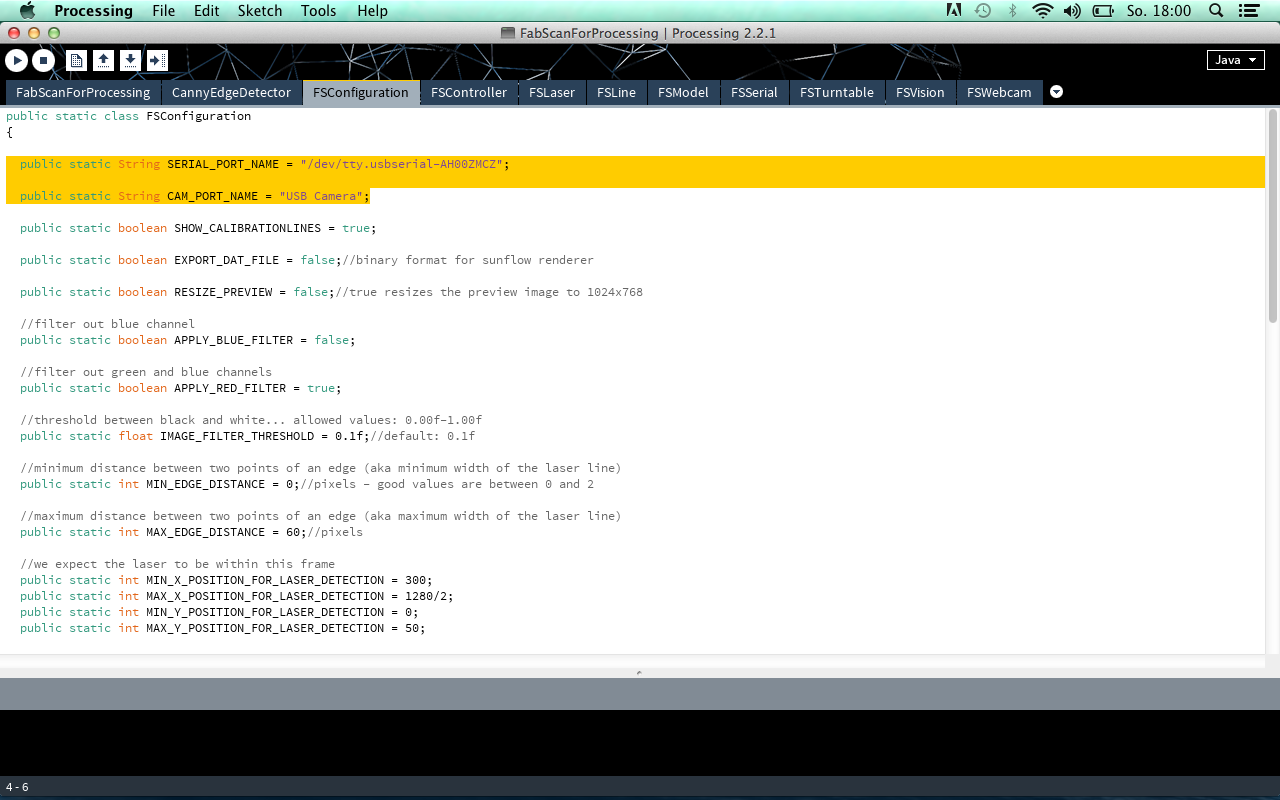
Step 2: Depending on the operating system, a few settings now have to be made in the file “FSConfiguration.pde“. For one thing, the name of the camera has to be set. In my case, on OSX, that is “CAM_PORT_NAME = “USB Camera”;” In addition, the USB port in use should be set; in my case that is SERIAL_PORT_NAME = “/dev/tty.usbserial-AH00ZMCZ;””. (On Windows COMxy).
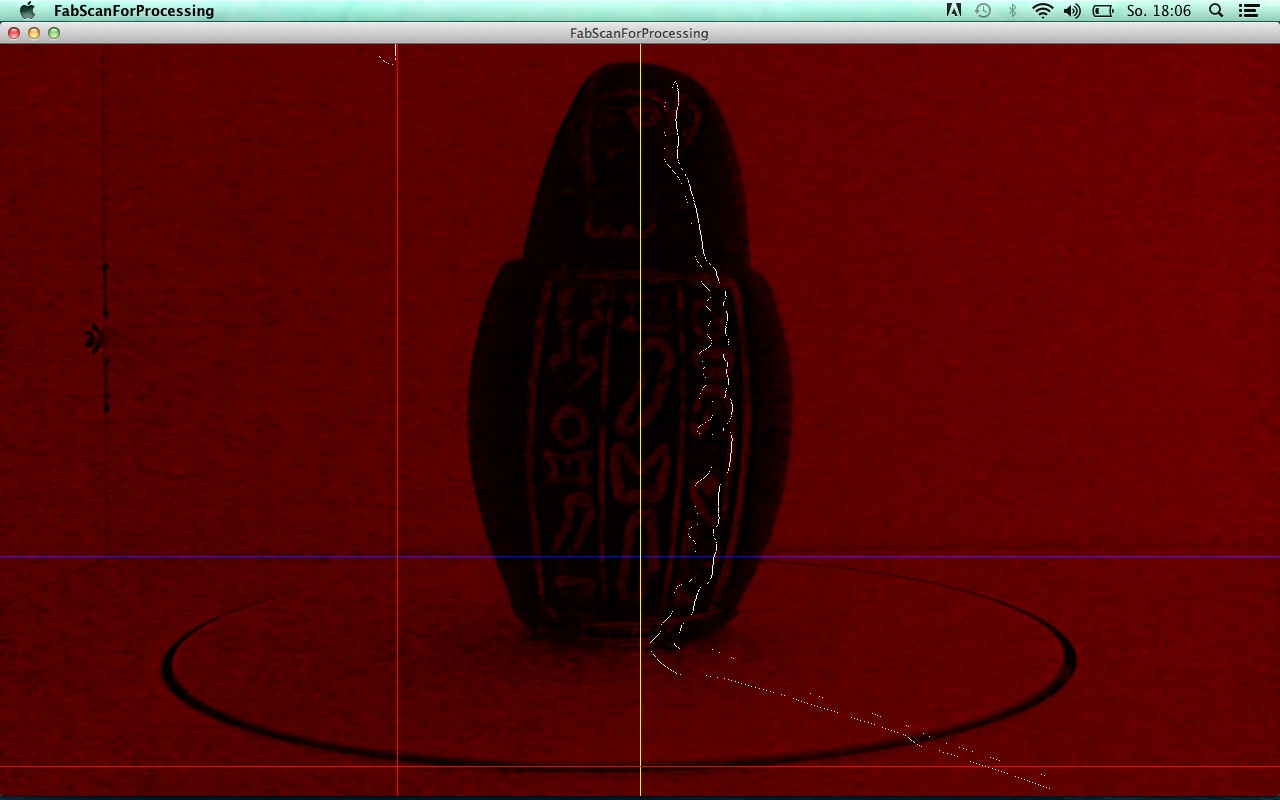
Step 3: The Processing software can now be started by clicking on the run button. A window like the one in the following photo appears. The process is running. Unlike with the live DVD, the preview here doesn’t show a point cloud but the detected laser line. Also visible are the camera calibration lines mentioned in step 4 (live DVD way). The camera is calibrated exactly as described above.
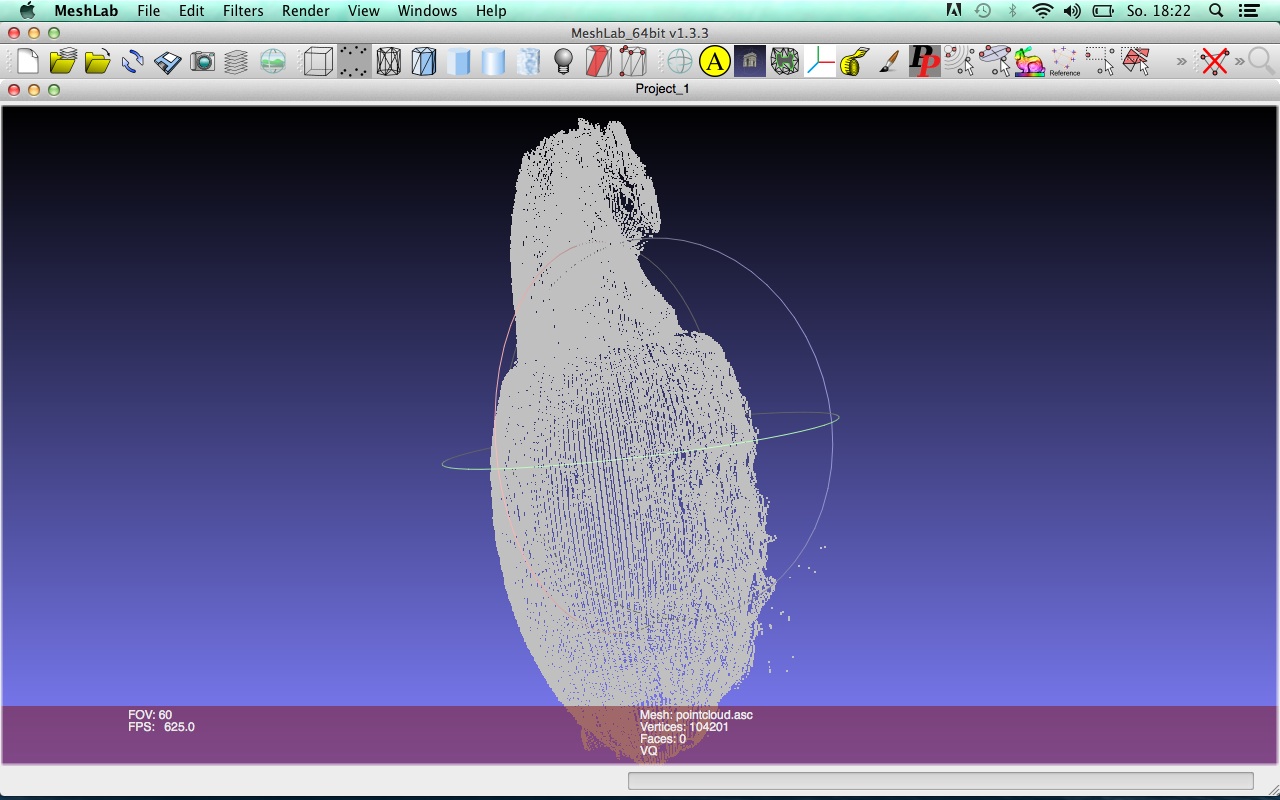
When the scan is finished, you’ll find the finished file named “pointcloud.asc” in the FabScanForProcessing directory. This file can again be opened and processed further with MeshLab.
TIP: Sometimes it helps to adjust the lighting conditions for the scan. It can be useful to cover the front of the scanner with a cloth, especially if no points appear (way 1) after the scan has started. That can be caused by ambient light that is too bright.
I’m currently working on new software that will work across operating systems (written in Python). The main focus, however, is on compatibility with the Raspberry Pi. The goal is to make scanning possible via the browser, so that the FabScan can also work autonomously. Of course the scans are supposed to get better too; to achieve that I’m mainly counting on a second laser. At the same time I’m currently experimenting with green lasers.
Comments