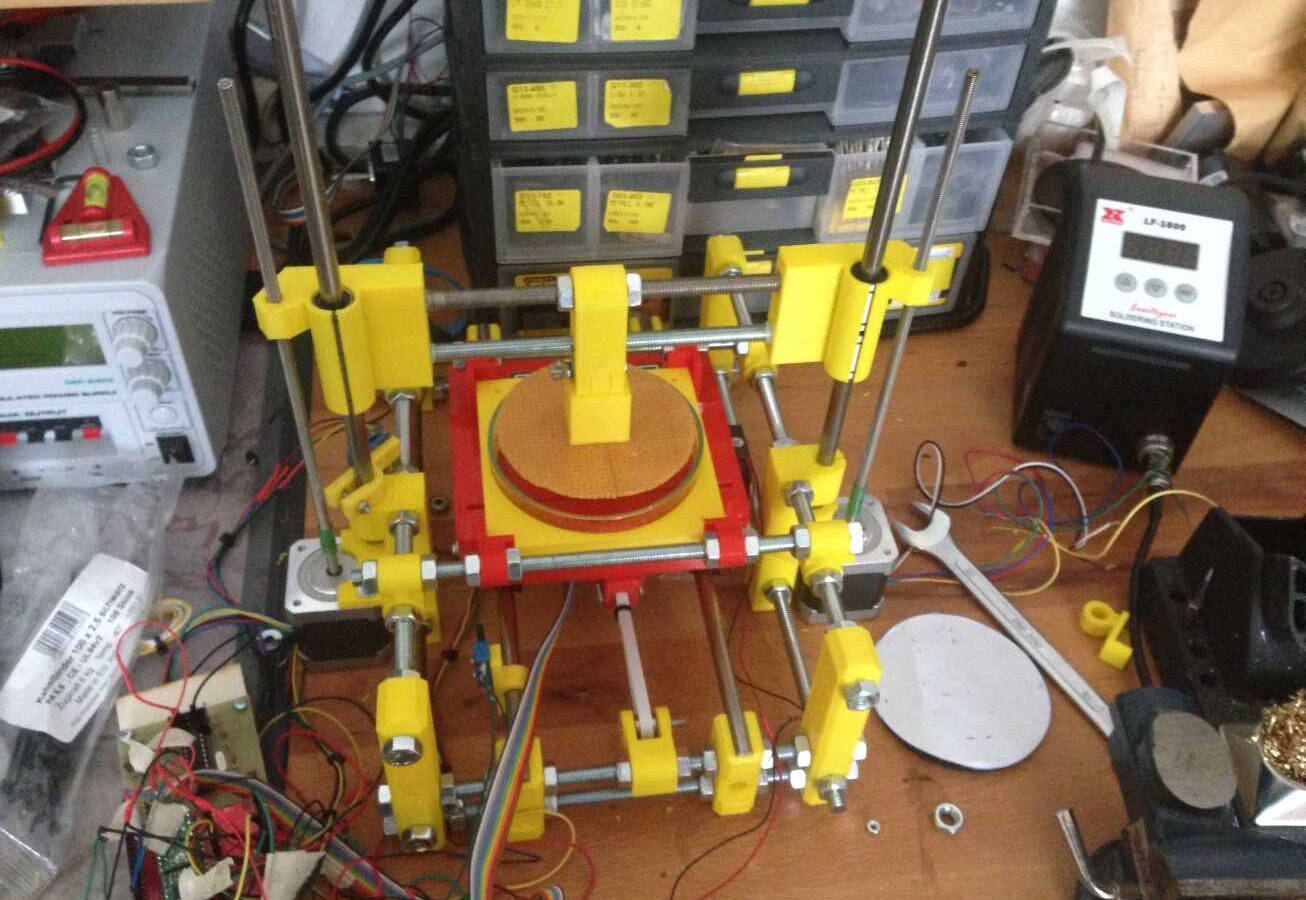
This weekend at the Maker Faire in Hannover you’ll be able to see one of my latest projects. It is an open source hardware stereolithography printer, which I have named Open Exposer.
I have been working on this device since November of last year. Unfortunately, I haven’t really had the time to write much about it so far. Since this is a fairly elaborate undertaking and a community is supposed to grow around it, everything will most likely be moved to GitHub as well. You can already find a few short reports and pictures in my Twitter timeline at @l_k3 . And those of you who are friends with me on Facebook are always kept up to date quickly anyway. Later on, you’ll find everything at https://www.openexposer.com . So far there is only an empty page there, but I have already checked in a bit of code.
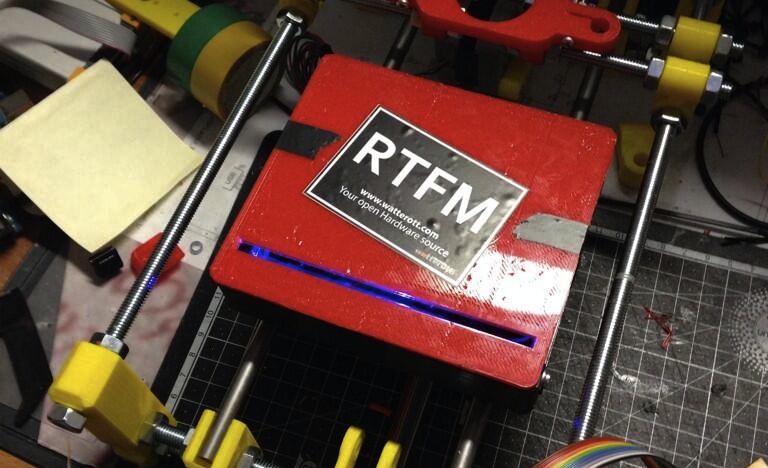
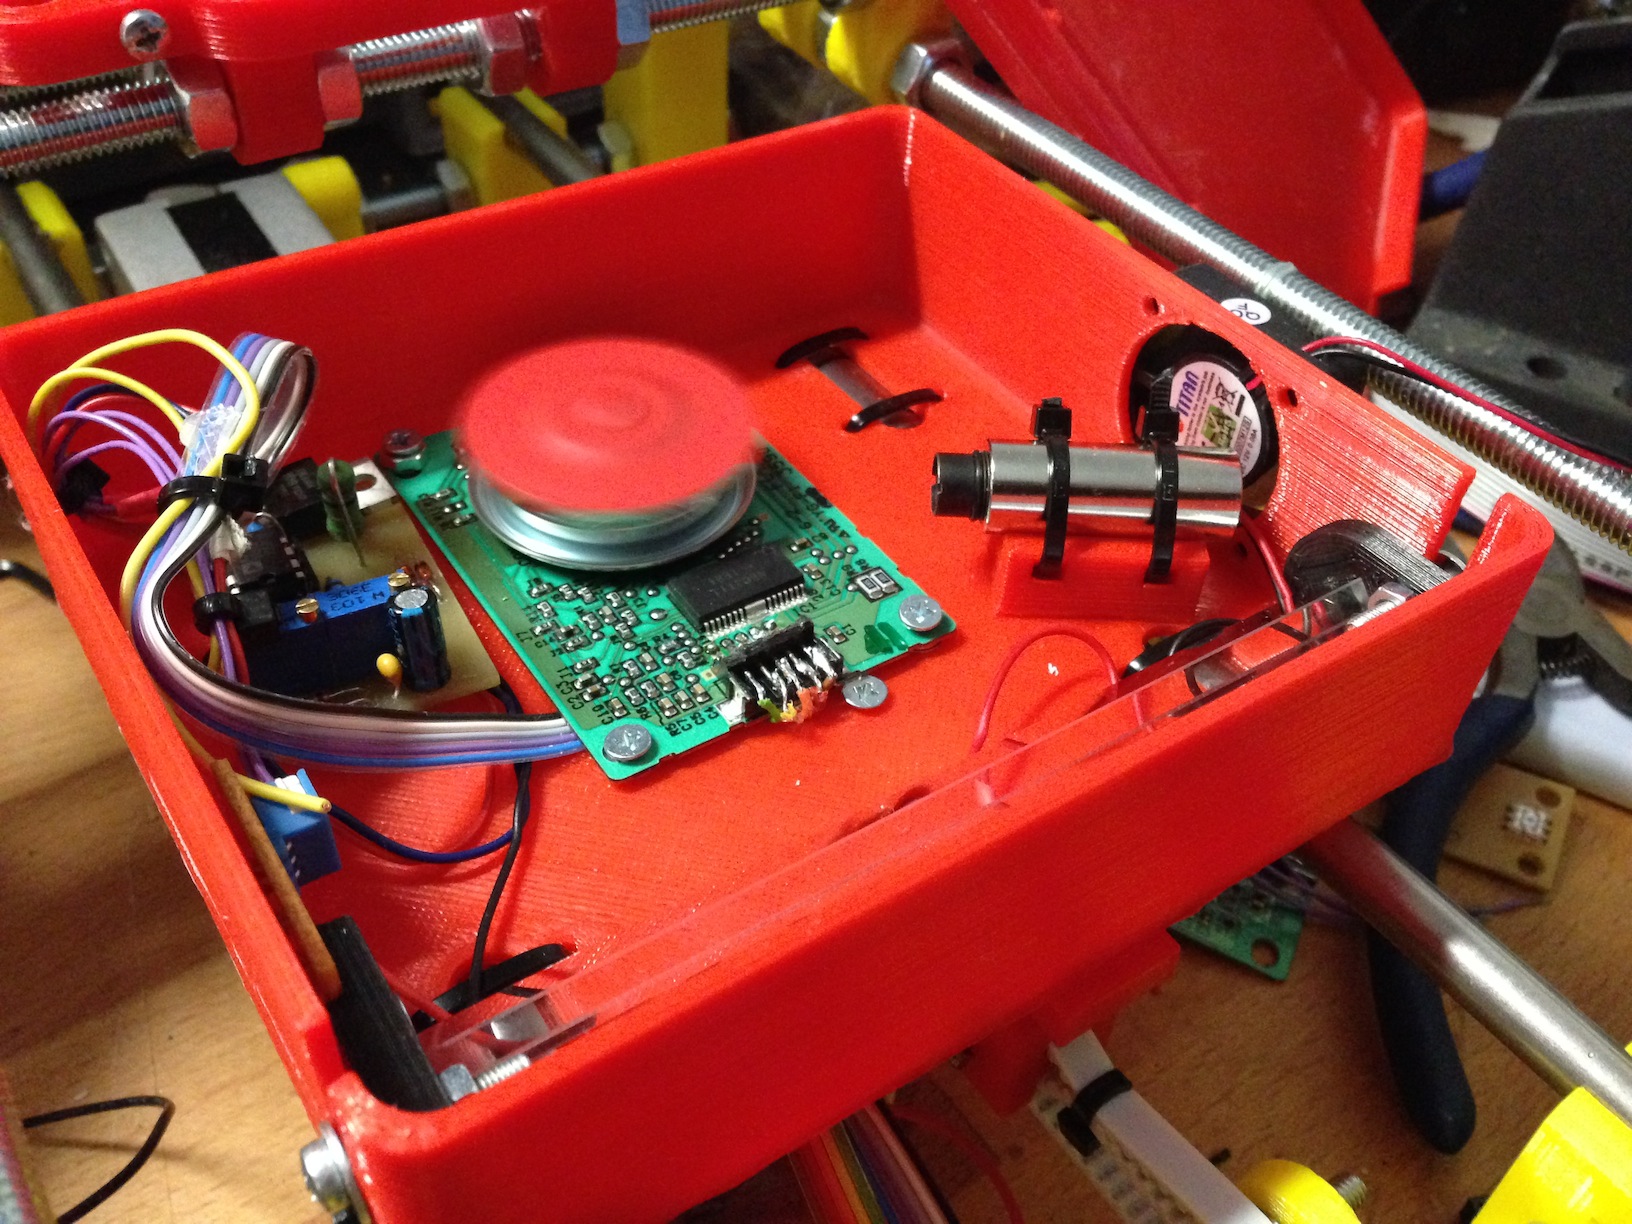
In the beginning, the Open Exposer project was only meant to be a pure stereolithography printer. But I quickly realized that it can also be put to very good use for other exposure processes. So the Open Exposer essentially consists of a small box containing the laser unit and the control unit (PCB). The control board will get various I/Os as well as sockets for Pololu stepper motor drivers. That means it will be easy to drive motors etc. with the board, too.
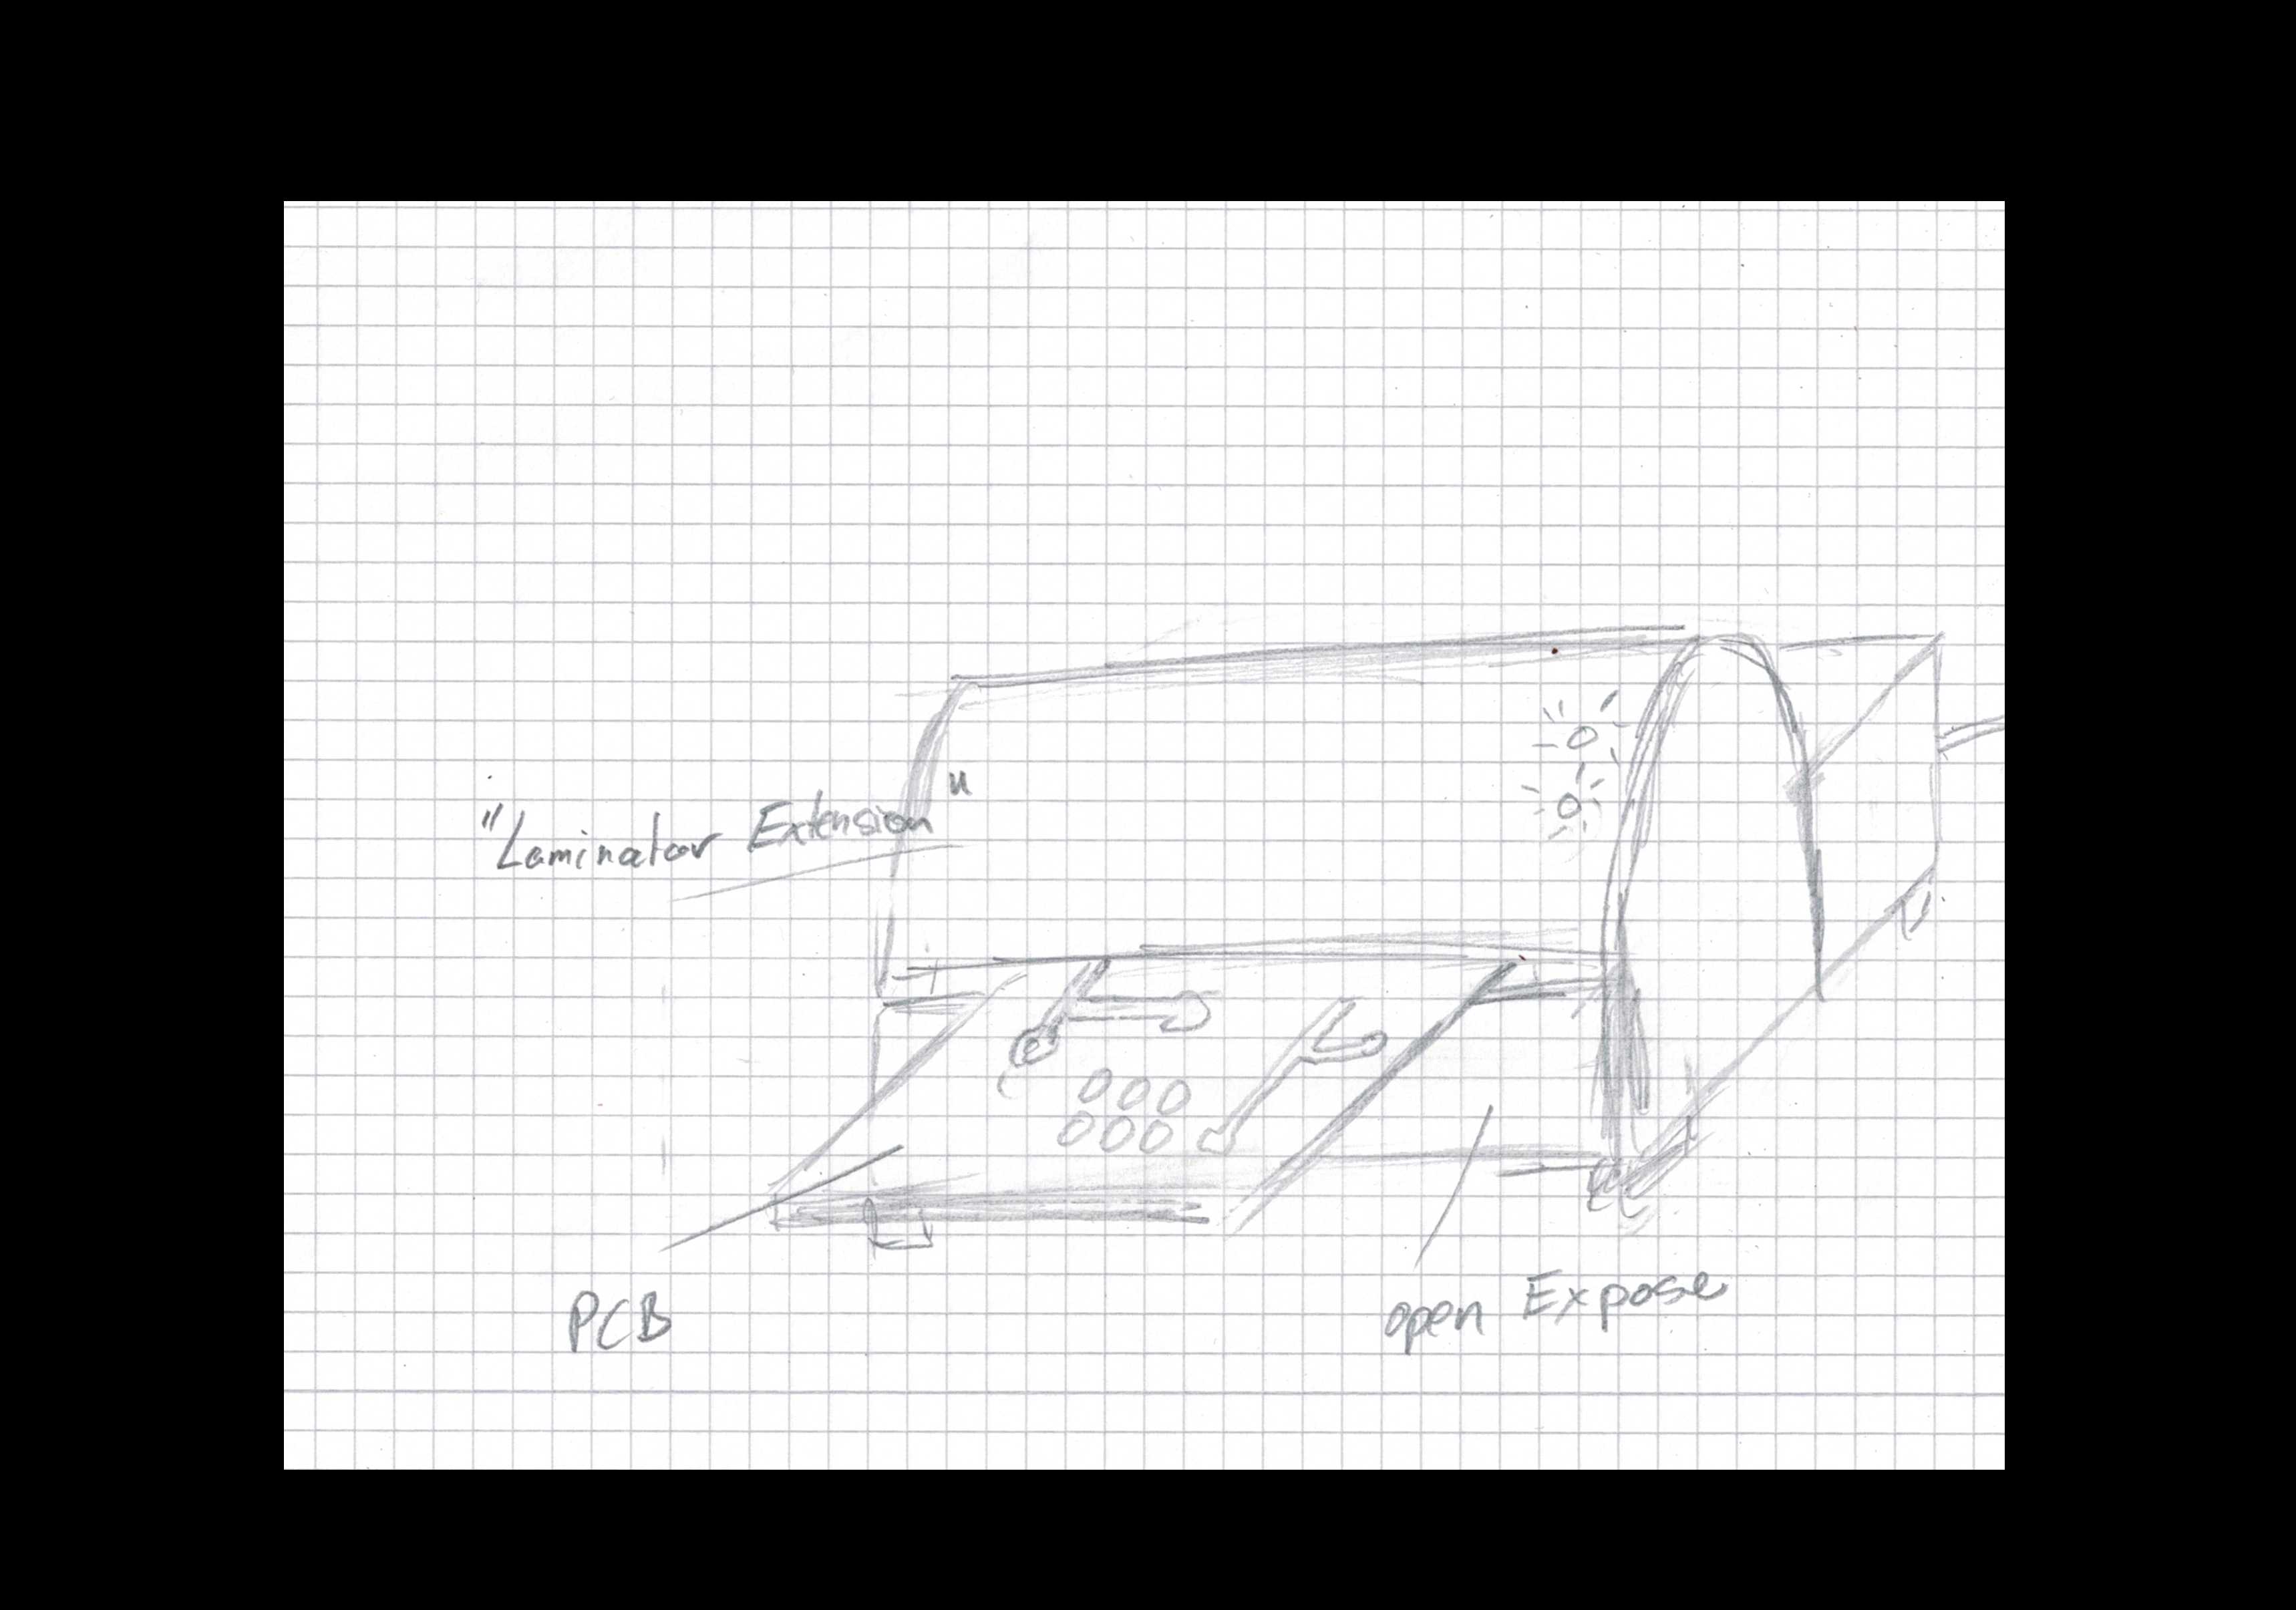
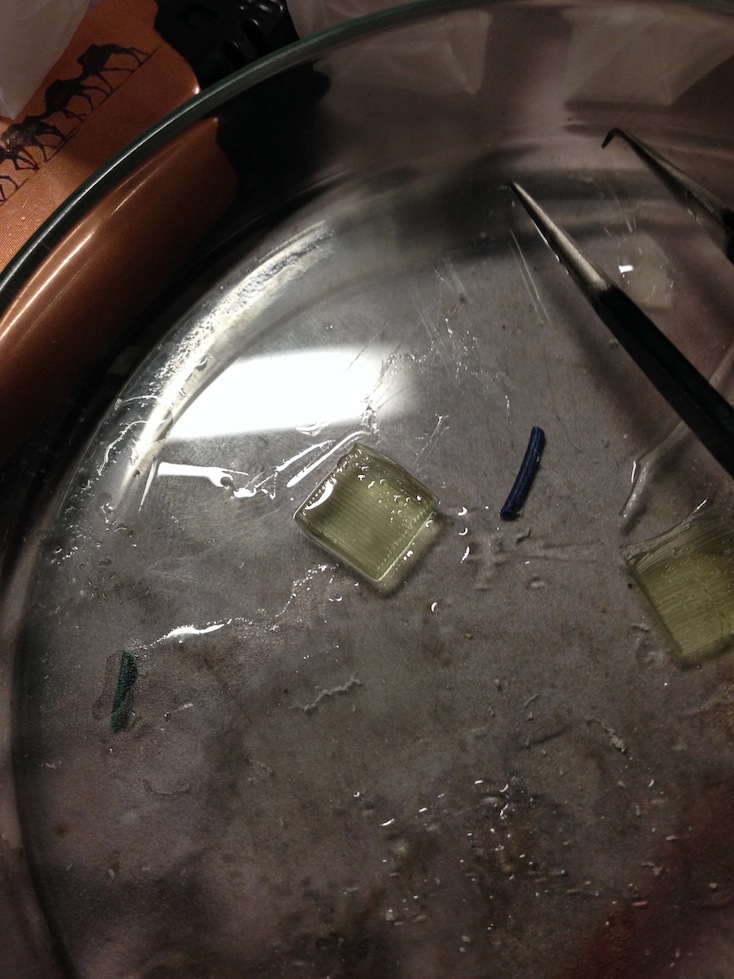
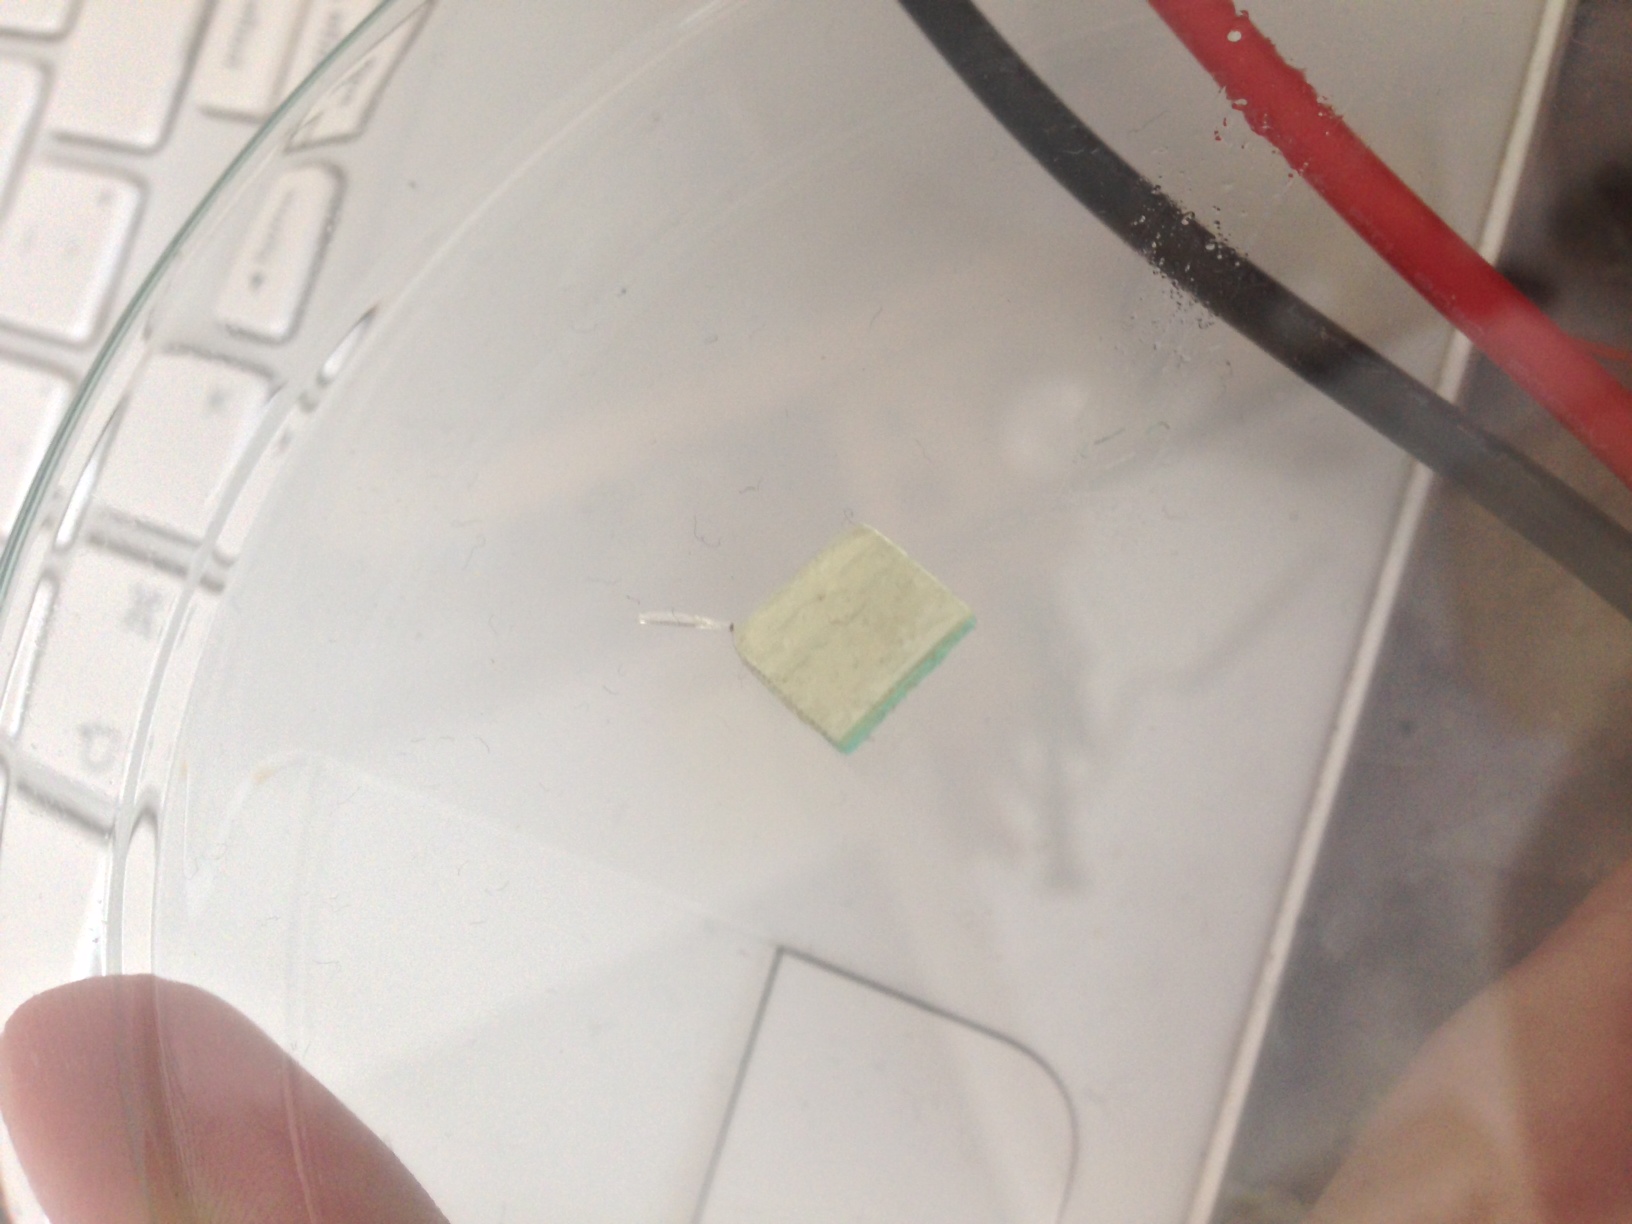
From my side, two use cases are planned so far: the printer already mentioned above, and a PCB exposure unit that works much like a laminator. The printer is almost finished, though. The pictures above and below in this post show some first exposure experiments with resin.
The Open Exposer unit will get a clamp or rail system that makes it possible to clamp or screw the Open Exposer unit onto other constructions.
The firmware is going to get a G-code interpreter. That way the unit can be controlled with existing host software (e.g. Pronterface). At the moment I use Slic3r to create SVG layer graphics. These are fed into a post-processor that I wrote in Python, and in the end you get runnable G-code for 3D printing.
So what are the advantages of this device over the widespread DLP resin printers? For one thing, the device can be used for more than just 3D printing. For another, it can be built yourself for very little money, and last but not least it is no monster and takes up only little space on the table.
The more people get involved in the project, the more we can achieve!
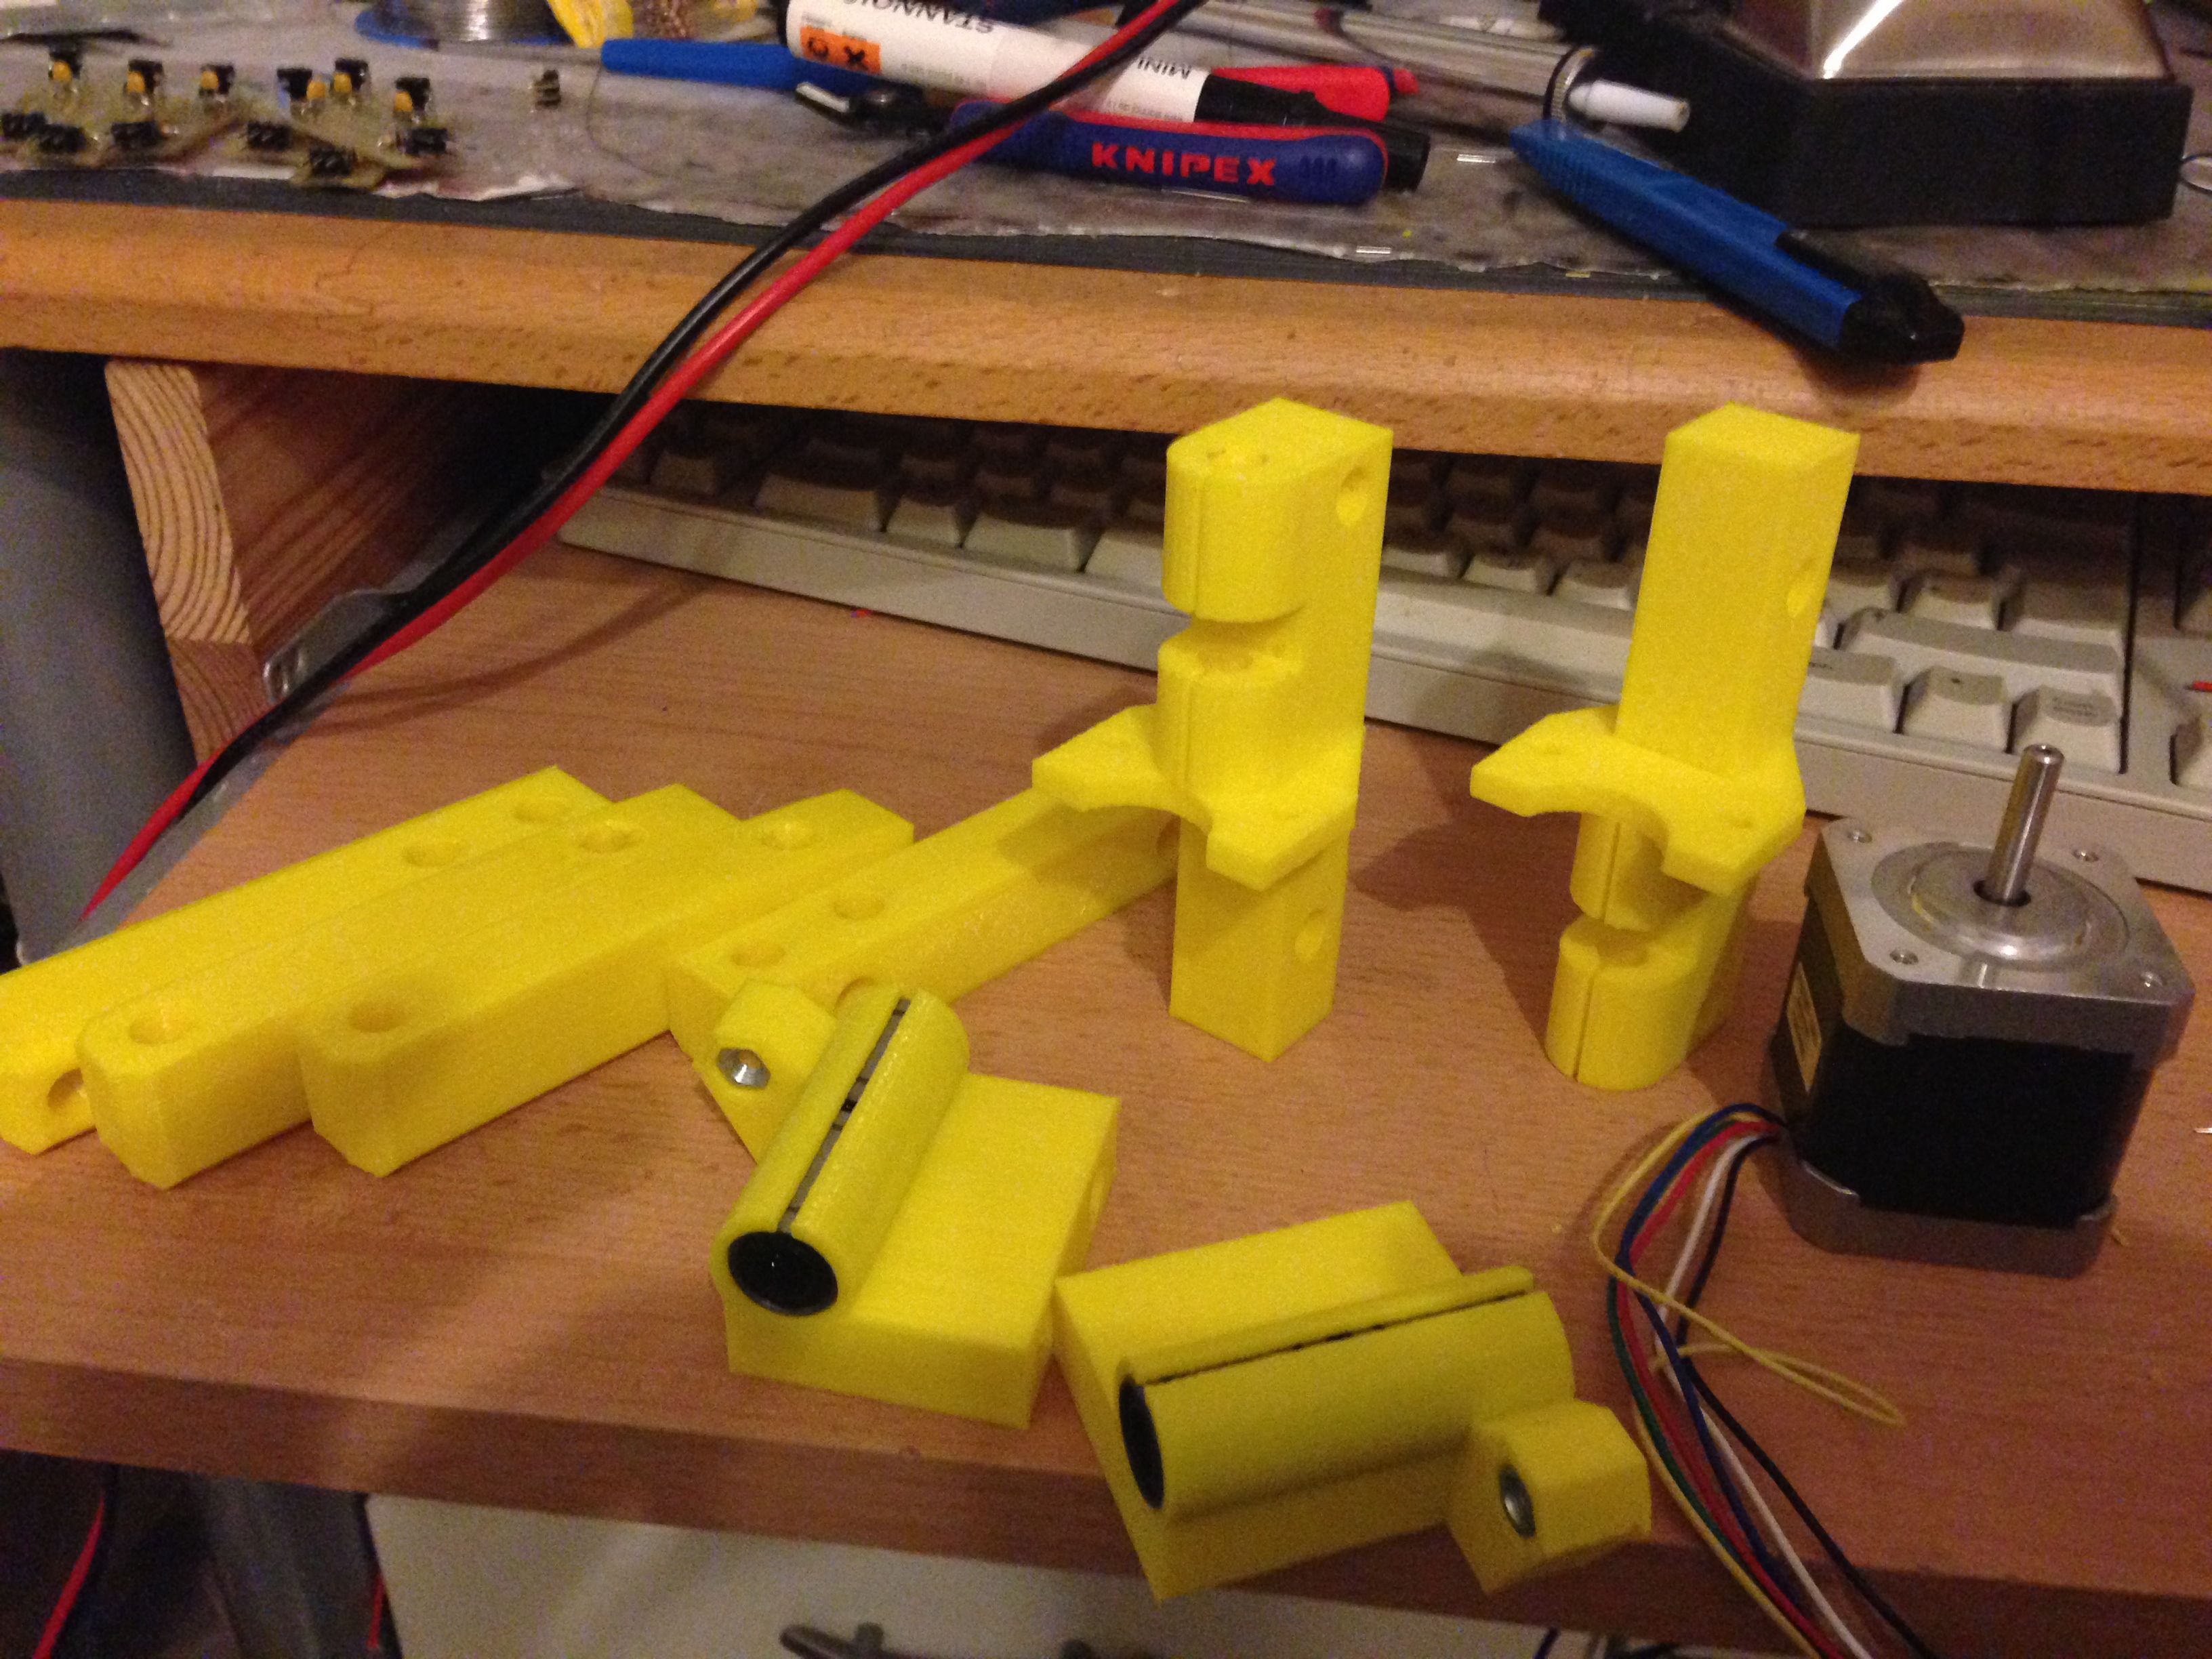
If you want to learn more, visit me on Saturday and Sunday in Hannover at the “Make Light” booth (31). A program booklet and a floor plan are available here.
If anyone wants to support the project right now, you can vote for me in the Hackaday Prize. Information about the contest is available at hackaday.
This way to the Open Exposer project on hackaday!
Here is how voting works:
Visit the vote page. It always pits 2 projects against each other. Keep pressing F5 or reloading the page until the Open Exposer shows up. Then click Vote there. In total you can cast a vote for 30 different projects. Voting is really worth it in this case, because some pretty high-quality prizes are raffled off among the voters.
Comments