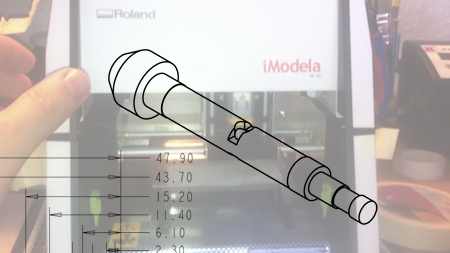
As I had already announced in my articles about making PCBs with the iModela, I have now converted the mill. My iModela can now also take tools with a shank diameter of 1/8″.
Drawing
First I removed the spindle. There is an interesting video from Roland on YouTube about this:
After removing it, I measured the spindle. For this I used a digital caliper
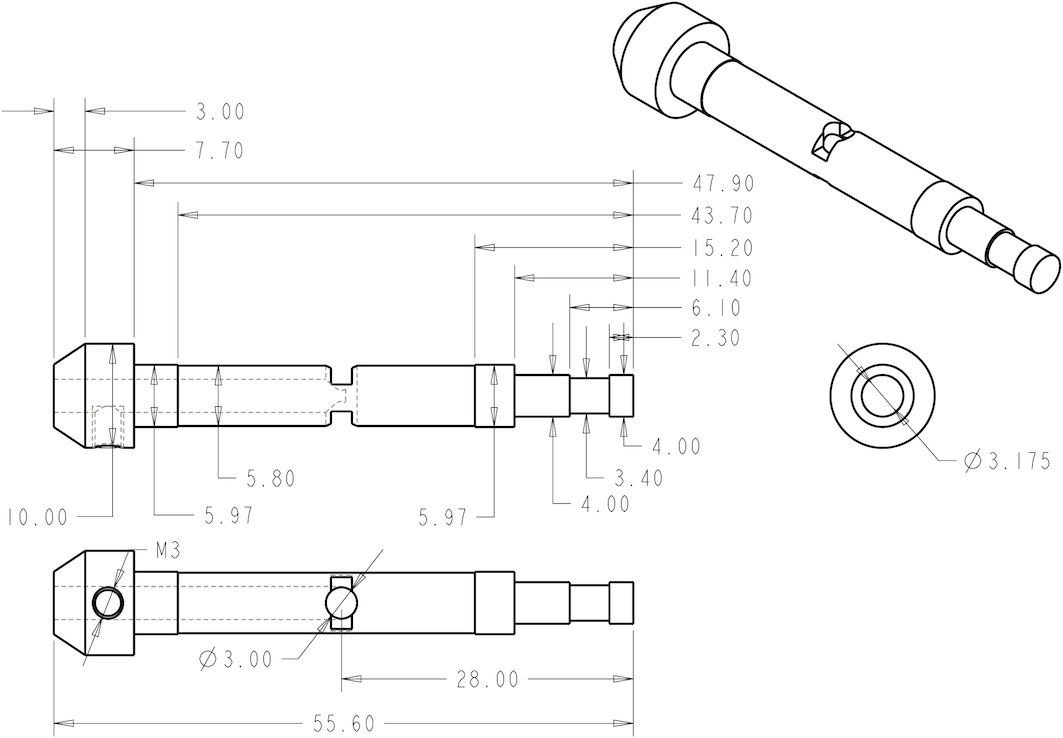
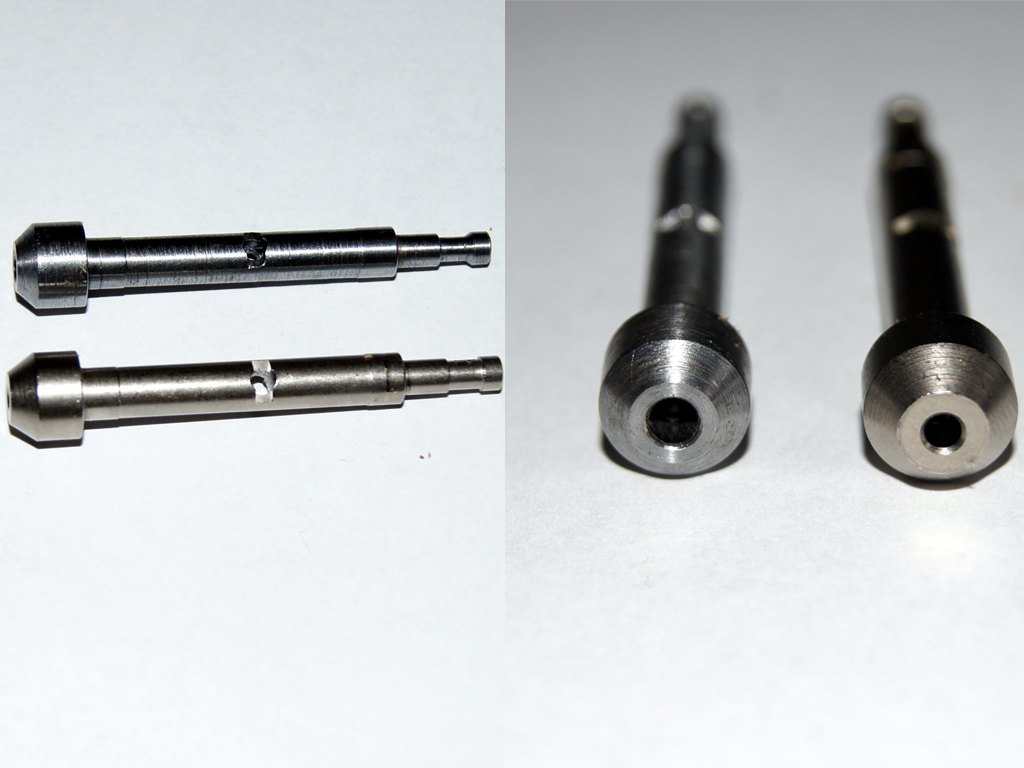
The hole with the notch in the middle of the spindle is not dimensioned. This hole appears to be part of the mechanism responsible for measuring the spindle speed. I suspect that the spindle speed is measured optically. The notch can still be enlarged later if the speed isn’t one hundred percent right on the first milling attempt. Since I don’t have a lathe myself, the spindle was made by a friend. I’d like to say thanks once again for that, too. The following picture shows both spindles. In the foreground the original spindle from Roland, and in the background the new spindle with a 1/8 inch bore.
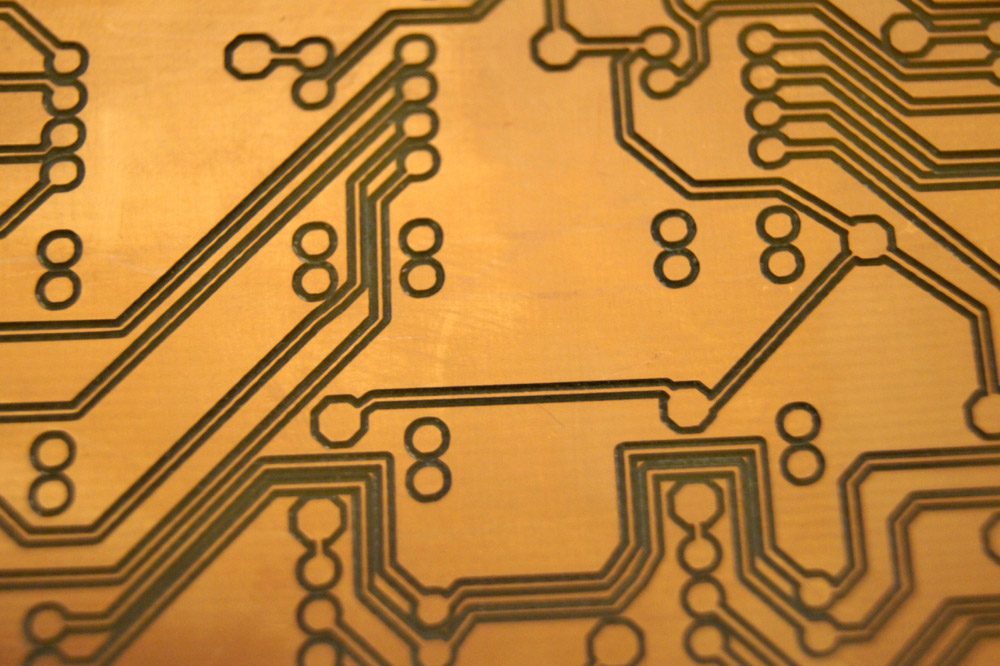
The first milling attempt with the new spindle produced the following result, using engraving bits with a 40° angle and the settings from one of the recent articles on milling PCBs with Eagle.
Comments